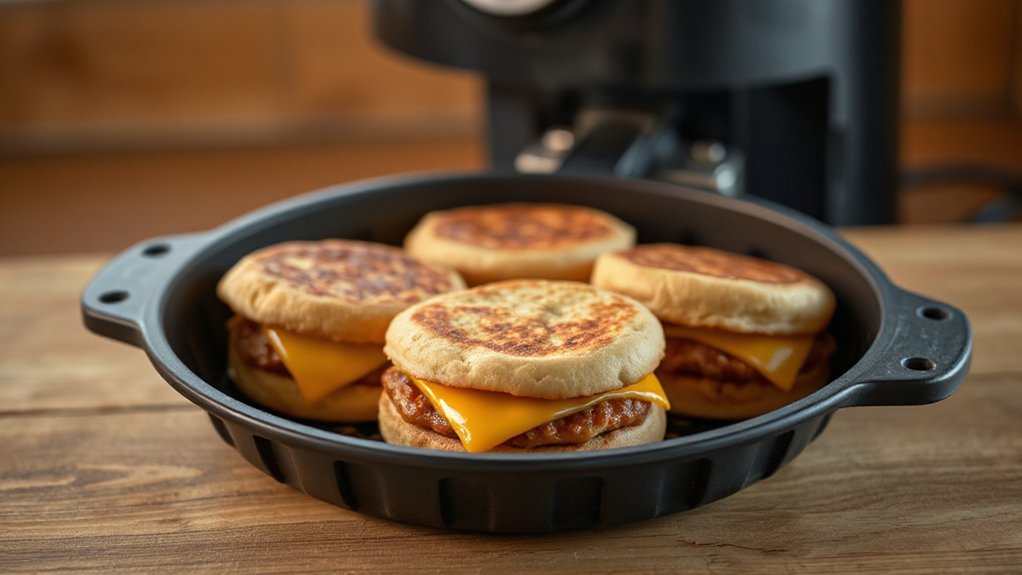
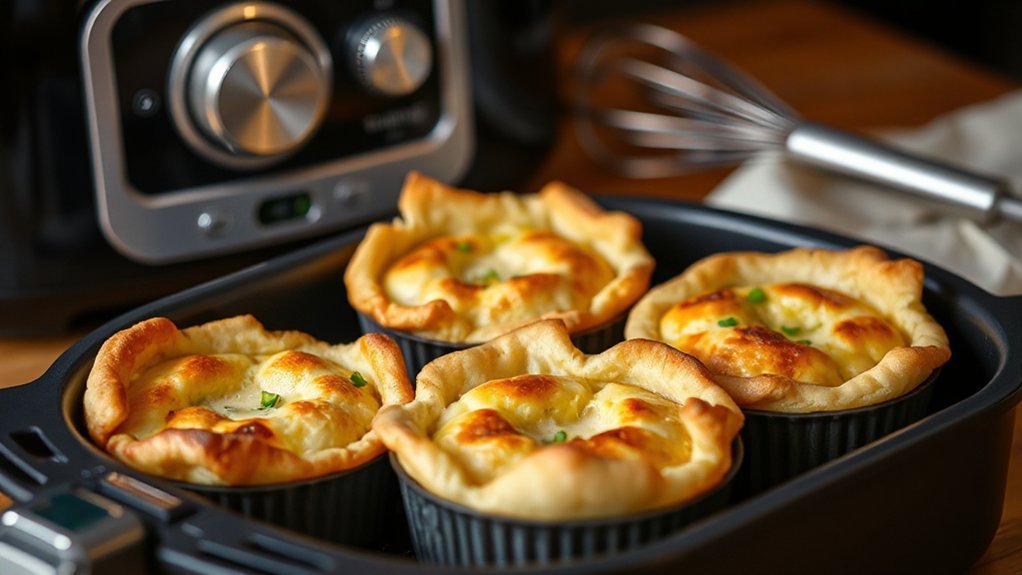
You’ll love these mini air-fryer quiches: they’re quick to assemble, bake to a golden, tender custard, and travel or stack for brunch service. Use a simple shortcrust or store-bought rounds, whisk eggs with milk or light cream (about two parts egg to one part dairy), fold in cooked fillings and grated cheese, then air-fry at 325°F until set. They store, freeze, and reheat beautifully—keep going for tips on crusts, fillings, timing and serving ideas.
Why You’ll Love These Mini Quiches

Why will you love these mini quiches? You’ll appreciate how quickly they come together and how reliably they turn out, golden, tender, and sliceable without fuss. You can make a batch ahead, reheat straight from the fridge, and still serve something that looks homemade and elegant. They’re Party Friendly: easy to hand out, stack, and arrange on a platter, so you’ll spend more time mingling and less time plating. Kids will reach for them first because they’re small, soft, and familiar—Kid Approved in both flavor and size. You’ll like that they fit any meal plan: brunch, snack, or light dinner, and that leftovers travel well for work lunches. Clean-up stays minimal since the air fryer keeps pans out of the picture. Overall, you’ll feel confident serving a crowd while keeping prep simple, attractive, and reliably tasty. You’ll get rave reviews without spending hours in the kitchen, honestly either.
Essential Ingredients

Now that you know how handy these mini quiches are, here’s what you’ll want on hand to get consistent, savory results: eggs for structure, a splash of milk or cream for richness, and a little grated cheese for flavor and melt. You’ll keep things simple: choose fresh eggs, pick a dairy option that suits your taste, and use a cheese that melts well. For add-ins, think cooked vegetables, chopped ham, or herbs. Smart ingredient sourcing saves time and money—shop quality basics and check expiry dates. Practice label reading for pre-made crusts or packaged fillings so you avoid hidden additives and excess salt. Portion ingredients for mini molds to keep each bite balanced.
Keep basics on hand—fresh eggs, a splash of cream, melting cheese, and cooked add-ins for reliable mini quiches.
- Fresh large eggs
- Milk or light cream (or a nondairy swap)
- Grated melting cheese (cheddar, gruyère)
- Cooked add-ins: veggies, herbs, cured meat
Make a short list and prep ingredients the night before.
Equipment and Air Fryer Tips

Grab a few simple tools and you’ll breeze through mini quiches in the air fryer: silicone or metal muffin cups, small ramekins or a mini tart pan, a quick-spray oil and a heatproof spatula or tongs for removal. Pick cookware that fits your basket without crowding — airflow matters. Use silicone for easy release, metal for crisper edges. A small wire rack helps if you want layers.
Keep your unit reliable with regular Maintenance tips: wipe crumbs after each use, clean the basket with warm soapy water, and descale if your model recommends it. Run periodic Calibration checks by testing with an oven thermometer so you learn actual temps and adjust cook times. Preheat briefly, avoid overfilling cups, and rotate the tray mid-cycle if your fryer has hotspots. With these practical steps, you’ll get consistent, golden mini quiches every time. They’ll save you time and frustration — and improve results.
Preparing the Crust
Shaping the crust is quick and forgiving, and starting with the right approach saves you soggy bottoms later. You’ll press or roll small rounds to fit mini tins, keeping edges slightly thicker so they don’t collapse. Chill the dough between handling; cold fats mean flakier results. Think about your shortening choice: butter gives flavor, vegetable shortening boosts lift. Watch dough hydration closely; add water a tablespoon at a time until it just holds. Handle gently to avoid tough pastry.
- Use room-cold butter or shortening for clean flakes.
- Patch tears with a little extra dough rather than overworking.
- Dock the base lightly with a fork to prevent puffing.
- Line tins with parchment for easy removal.
You’ll prebake briefly (blind bake) when filling is ready; that step guarantees crispness. These small rituals make mini quiches look professional without fuss. You’ll impress guests with minimal effort always.
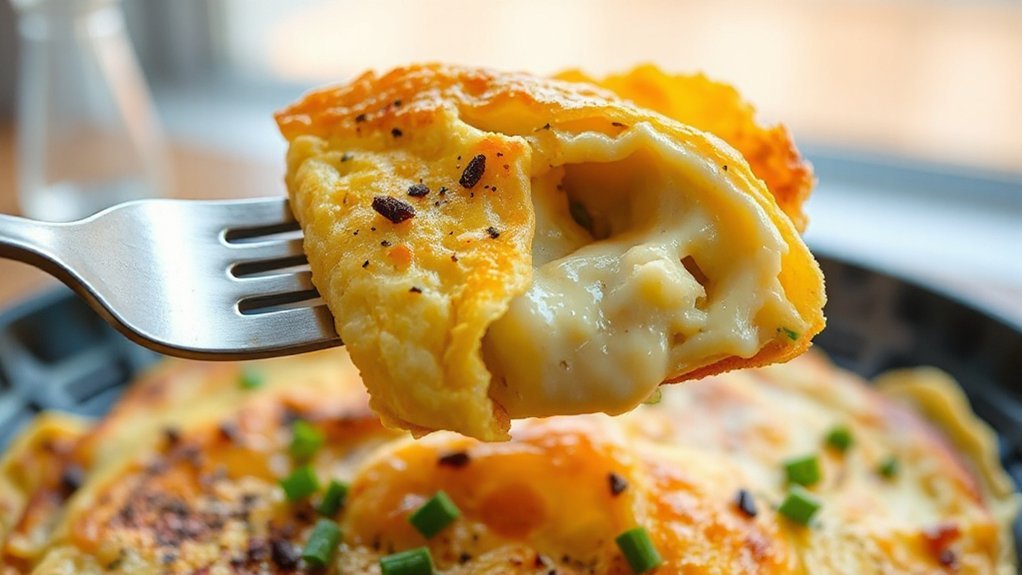
Making the Custard Filling

If you want silky, set quiches, whisk together whole eggs and a bit of cream or milk—roughly one part dairy to two parts egg—until the mixture’s smooth and homogenous; this ratio gives a tender, custardy texture without being runny. Now season lightly with salt and pepper, then strain the custard through a fine mesh to remove chalazae and any foam for an ultra-smooth finish. For curdling prevention, temper hot ingredients: warm milk gradually before adding to beaten eggs and whisk constantly to equalize temperatures. Use room-temperature eggs to reduce shock and keep the filling cohesive. Consider a brief rest after mixing so bubbles settle; this helps custard chemistry and promotes even baking. Pour gently into prepared crusts, filling to just below the rim, and bake or air-fry on a moderate setting. You’ll get even set centers and silky texture when you control temperature and handle the mix gently.
Flavor Variations and Mix-Ins


How adventurous do you want to get? You can riff on the basic custard with simple, tasty additions that personalize each mini quiche. Think about textures and flavors—cheese, herbs, cured meats, vegetables, or a touch of sweetness. For brunch, balance is key: don’t overload the cup so the custard still sets.
- Mediterranean: sun-dried tomatoes, feta, and oregano for global inspirations.
- French twist: gruyère, caramelized onions, and a pinch of nutmeg.
- Veg-forward: spinach, roasted red pepper, and goat cheese.
- Sweet variations: apple, cinnamon, and a crumble of brown sugar for a dessert-style mini quiche.
Mix small, uniformly chopped ingredients so they cook evenly. Plate different flavors together for variety. Keep notes on combinations you love; you’ll repeat winners next time. Small swaps—different cheeses or a spice—go a long way toward making brunch feel curated and effortless. Try one bold ingredient per batch so flavors stay distinct and satisfying always.
Assembling the Mini Quiches

Start by prepping your crust cups so they’re snug and sealed around the edges. Distribute fillings evenly and leave a bit of space for the egg mixture so each bite’s balanced. To prevent soggy bottoms, either blind‑bake briefly or sprinkle a little grated cheese or breadcrumbs in the base before adding the custard.
Prepping Crust Cups
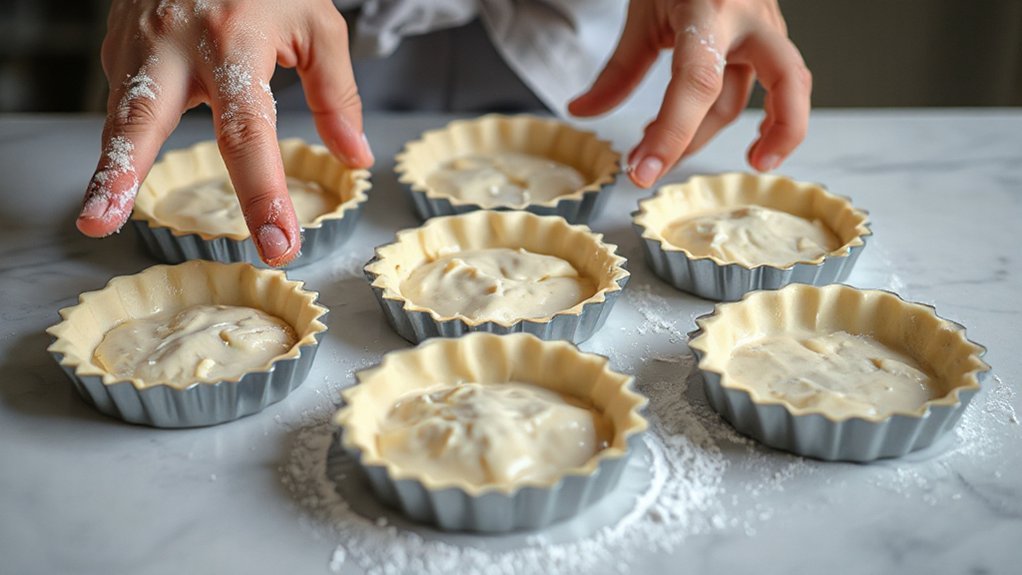
Forming the crust cups is your first hands-on task—press small rounds of chilled dough into lightly greased mini muffin wells so the dough hugs the sides and creates a shallow cup for the filling. Wipe your workspace, follow basic hygiene protocols, and keep chilled dough cold so it stays manageable. Use gentle, even pressure and trim excess at the rim for tidy edges; don’t overstretch. Dock cups lightly with a fork to avoid bubbles, and chill the tray briefly if dough softens. For serving or photo staging, press uniform rims so quiches look professional.
- Use a cookie cutter for consistent rounds.
- Work quickly to keep dough firm.
- Re-roll scraps once, not repeatedly.
- Chill cups 10 minutes before filling.
Then bake.
Layering Fillings Evenly
Arranging the fillings evenly helps every mini quiche bake and taste the same, so work with intention: drop a small spoonful of denser ingredients (like cooked veggies or meats) into each crust, then sprinkle cheese lightly to create a barrier that keeps wet ingredients from soggying the crust. Next, use radial distribution for small pieces—place a few bits toward the center and fan others outward so each bite gets flavor. For larger chunks, try concentric placement: a ring of ham, then a ring of spinach, finishing with a thin layer of cheese and herbs. Keep proportions consistent, tap cups gently to settle layers, and wipe spills before egg mixture goes in. You’ll get uniform, attractive mini quiches every time and save time plating today.
Preventing Soggy Bottoms
While you’re assembling, take a few simple steps to keep bottoms crisp: use fully cooked, well-drained fillings (pat veggies and meats dry), and sprinkle a thin layer of grated cheese or fine breadcrumbs into each crust to absorb moisture and form a barrier. Next, do surface blotting on any wet ingredients and let fillings cool slightly before filling. Consider lining a tray with absorbent liners when prepping and rest shells briefly on a rack so air circulates. In the air fryer use a short blind bake if your crust seems soft.
- Pat mushrooms and spinach with paper towels.
- Use absorbent liners under trays for spills.
- Pre-bake shells 3–4 minutes for firmness.
- Don’t overfill; leave room for egg expansion.
They keep crusts crisp and dry.
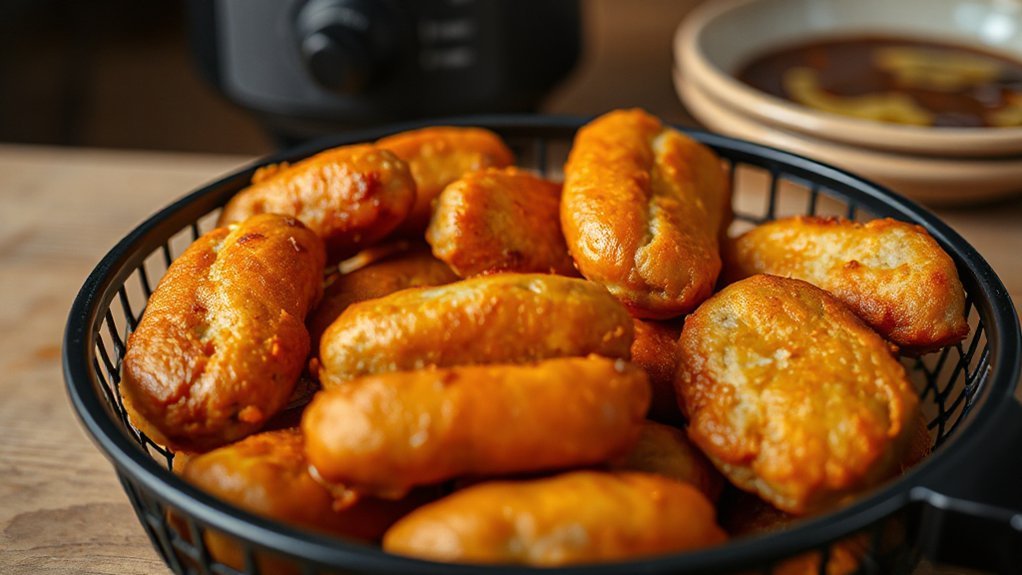
Air Frying Instructions and Timing
Before you start, preheat the air fryer to 325°F (163°C) so the quiches cook evenly; then spray the basket lightly and place the filled muffin cups in a single layer with a little space between them. Use preheat timing as a rule: let the fryer reach temp about 3–5 minutes; if you’re at high altitude, make altitude adjustments — add 1–2 minutes and watch for firmness. Cook mini quiches 12–15 minutes until set and edges are lightly golden; rotate the basket halfway for even browning. Let quiches rest three minutes in the cups before removing to finish setting.
| Time | Temp | Notes |
|---|---|---|
| 0–5 min | 325°F | Preheat |
| 6–11 min | 325°F | Mid-cook check |
| 12–15 min | 325°F | Done/rest |
If you have a crowded basket, increase time slightly and check centers; small air fryers may need more time, so use visual cues and a toothpick to confirm the custard is set and ready.
Serving and Presentation Ideas

When you’re ready to serve, pop the mini quiches onto a warm platter or individual small plates so they stay cozy and look inviting; garnish with a sprinkle of fresh herbs like chives or parsley and a twist of lemon zest for brightness. Arrange quiches in groups for visual rhythm, mix sizes, and leave space for guests to grab easily. Think about Plating arrangements: a slate board feels modern, a wooden tray gets rustic, and small doilies add charm. Choose Garnish options that echo fillings—microgreens for lightness, crumbled bacon for richness, edible flowers for color. Offer small utensils and napkins nearby and label any special-diet varieties so guests feel cared for.
Serve warm mini quiches on mixed platters, garnished with fresh herbs, lemon zest, and labeled for guests.
- Space pieces evenly so each looks intentional.
- Add small dipping bowls of complementary sauces.
- Include a simple salad or fruit to balance richness.
- Use contrasting colors to make each plate pop.
Enjoy the compliments and small moments.
Storage, Reheating, and Freezing Tips

If you want your mini quiches to taste as fresh as the day you made them, you’ll cool them completely, then stash them airtight in the fridge for up to 4 days. For longer storage, freeze single portions on a tray until firm, then transfer to a vacuum sealing bag or heavy-duty freezer container to prevent freezer burn. Label with date and use within 2 months for best flavor. To reheat from refrigerated, warm them in the air fryer at 350°F (175°C) for 3–5 minutes until heated through; a microwave works for 30–60 seconds but softens crust. For frozen quiches, try two thawing methods: overnight in the fridge for gentle, even reheating, or reheat straight from frozen in the air fryer at 325°F (160°C) for 8–12 minutes, flipping halfway. Let rest a minute before serving. Avoid repeated refreezing to preserve texture and safety. Freeze only fully cooled quiches.
Conclusion
You’ll feel like a brunch superhero every time you pop one of these mini air fryer quiches into your mouth. You’ll be amazed at how such tiny golden rounds can hold so much flavor and make your kitchen smell like a fancy café. They’re quick, forgiving, and practical—perfect for lazy mornings or impressive guests. Keep a stash in the freezer, and you’ll never face brunch panic again. Seriously, it’s pure brunch magic on a plate.