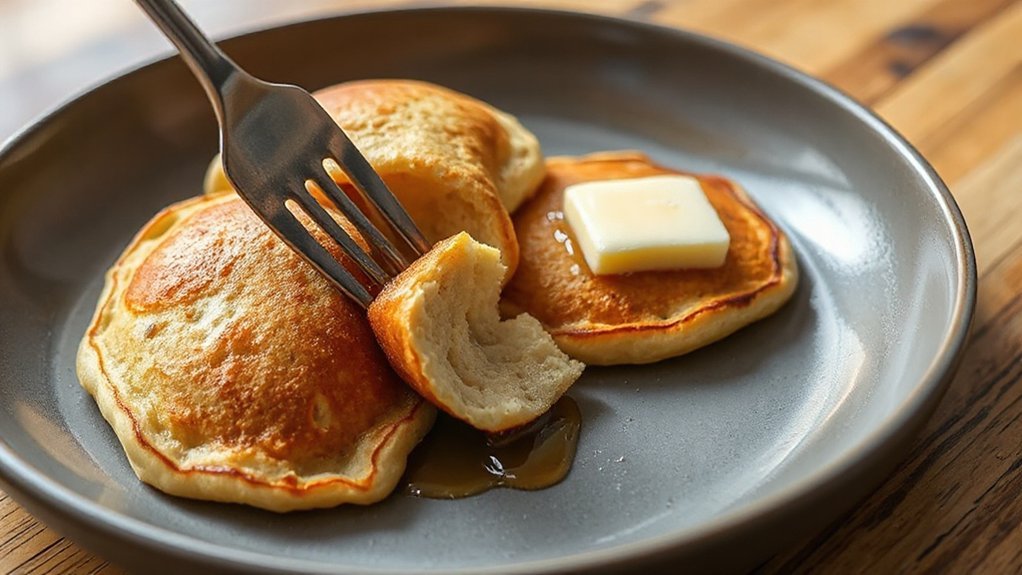
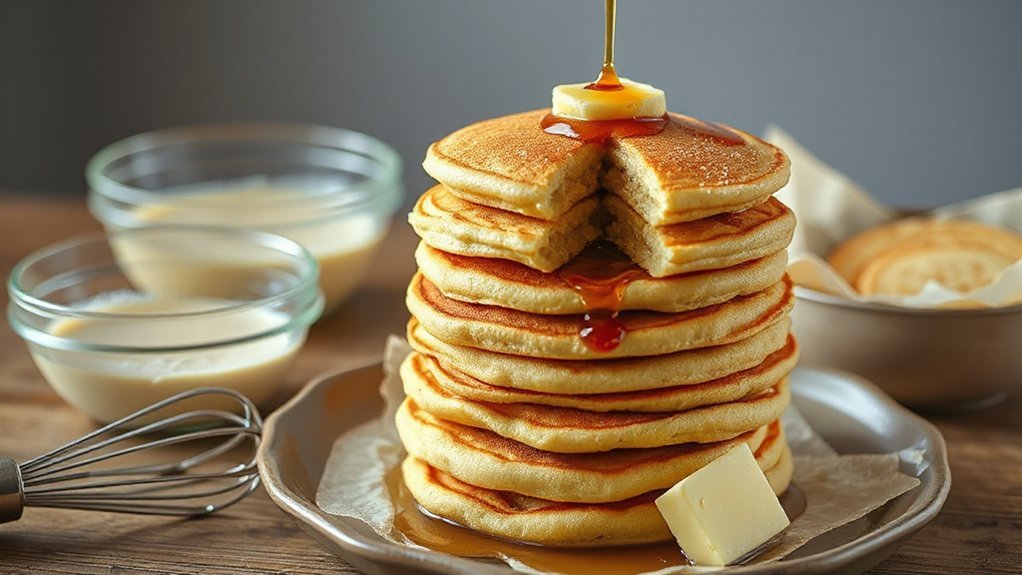
Yes, you’ll make outrageously fluffy pancakes in an air fryer in minutes. Preheat to 350°F, use a greased 4–6″ pan or silicone mold and a pourable-but-thick batter (about 1 cup flour to 3/4 cup milk). Convection crisps the outside and traps steam for a tender, airy center; cook small rounds ~4 minutes (flip at 2) or thicker ones 5–6 minutes, flipping halfway. Keep them spaced, cool briefly, and try add‑ins — more tips below soon.
Why Air Fryer Pancakes Work
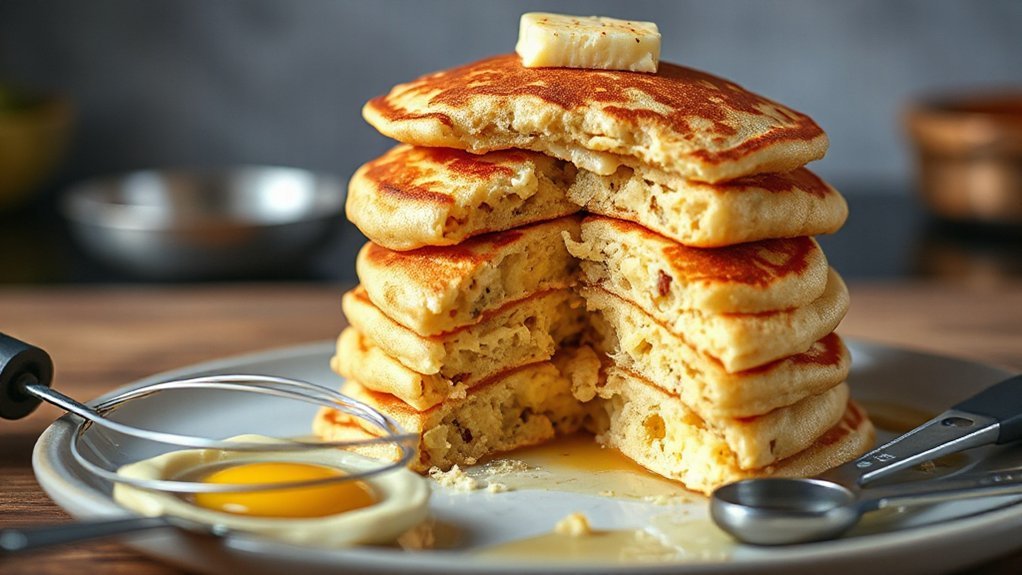
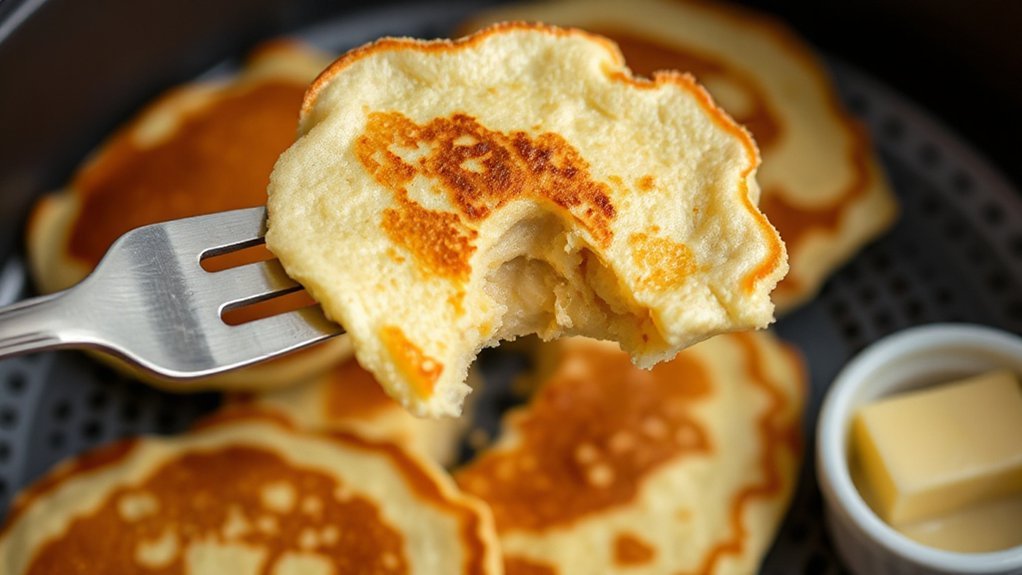
Because air fryers circulate intense, dry heat quickly, they crisp the outside of pancakes while keeping the inside tender, so you get golden edges without flipping or drowning them in oil. You’ll notice how convection circulation speeds moisture loss at the surface, prompting rapid crust formation that locks in steam and keeps centers fluffy. When you portion batter into a shallow pan or directly on a nonstick surface, the focused airflow browns evenly, so every pancake gets that trademark sizzle and color. You don’t need to babysit the griddle; the air fryer’s steady heat reduces cold spots and shortens cook time, which means less breakdown of lift from your leavening. That efficient heat transfer also uses less fat, so pancakes hit that crispy-tender balance without greasiness. Once you taste the contrast between a bronzed exterior and a soft interior, you’ll understand why this method’s gone viral. Seriously fun.
What You’ll Need (Equipment & Ingredients)
Ready to make them at home? You’ll need an air fryer with a shallow basket—something that fits a small cake pan or silicone molds. Grab nonstick spray or a neutral oil, a heatproof ramekin or 6-inch cake pan, a small whisk, mixing bowls, and a spatula. For ingredients, pick all-purpose flour, baking powder, sugar, salt, milk, eggs, and butter or oil.
Choose produce and dairy with Local sourcing where possible—farmers’ markets or nearby creameries add flavor and cut food miles. If you want toppings, think seasonal fruit and pure maple syrup.
Think through Sustainability considerations: reusable silicone liners, glass mixing bowls, and composting scraps reduce waste. Buy only what you’ll use to avoid spoilage. You don’t need fancy gadgets—solid basics and mindful sourcing will get you fluffy air fryer pancakes every time. Keep measuring tools simple—a kitchen scale and measuring spoons speed prep and keep results consistent.
Batter Basics: Texture and Ratios
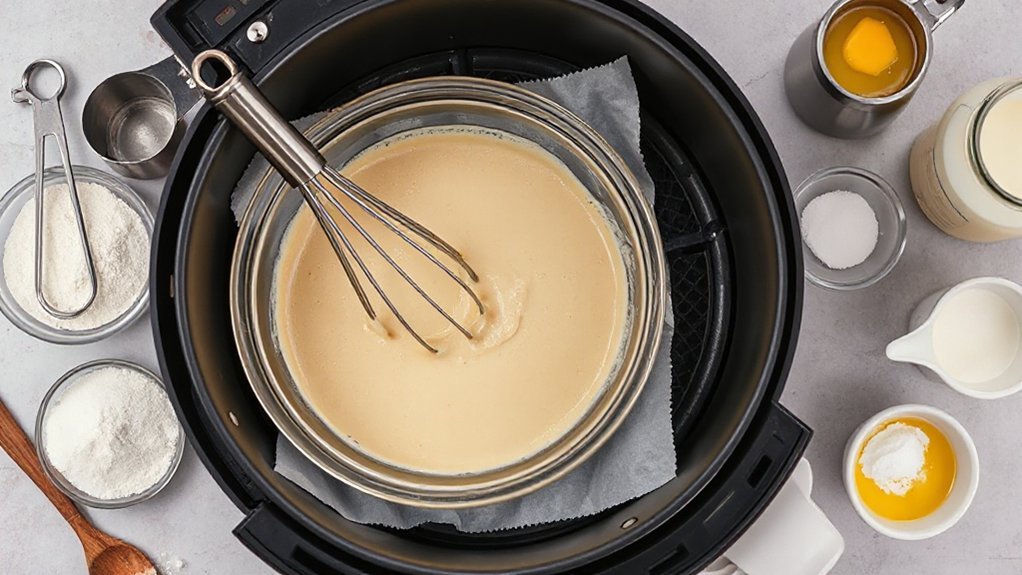
You’ll want a roughly 1:1 to 1.2:1 flour-to-liquid ratio by weight (about 1 cup flour to 3/4–1 cup milk) so the batter isn’t too runny. Aim for a pourable but thick batter—think ribboning off a spoon for fluffy pancakes or thinner for crepe-like rounds. Fold gently and whisk briefly to trap air without overmixing, then let the batter rest a few minutes so bubbles form for light, even cooking in the air fryer.
Flour-To-Liquid Ratio
How wet do you want your batter? You’ll control fluff and lift by balancing flour and liquid: think grams, not cups, because hydration science favors precise ratios. Start with a baseline 1:1 of flour to liquid for a thick, pourable mix, then tweak in 5–10% steps. Use a scale to guarantee measurement accuracy—spoons and eyeballing introduce variability that kills consistency. Remember liquid types change behavior: milk adds fat and tenderness, but water keeps structure snappier. Whisk just until combined; overmixing changes effective hydration. If you track grams and adjustments, you’ll reproduce results batch after batch. That’s the real trick to consistent, airy air fryer pancakes without guesswork. Small changes in ratio yield big textural shifts, so note what you do and adjust intentionally daily.
Batter Thickness Guide
While the flour-to-liquid ratio sets the baseline, batter thickness is what actually tells you whether your pancake will be tender, cakey, or flat, so think in practical terms: a pourable batter (about 110–125 g flour per 100 g liquid) spreads easily for thin, crepe-like cakes; a thick, spoonable batter (about 140–160 g flour per 100 g liquid) holds shape for fluffy, tall pancakes; and a middle ground (roughly 125–140 g/100 g) gives classic, slightly airy rounds. You’ll adjust thickness to match your goal and basket size: thin for quick, larger-diameter pancakes; thick for taller stacks, moist. Consider cultural variations—Japanese soufflé vs. Dutch baby—when choosing consistency. For serving and photo styling, thicker cakes take syrup and toppings better; thinner ones look delicate on your plate.
Air Incorporation Tips
Curious how to get light, airy pancakes without rubbery chew? You’ll want to focus on folding air in, not overworking the batter. Whisk eggs and sugar briefly, then add dry ingredients with measured liquid so batter flows but holds peaks. When you beat, aim for microbubble stability—tiny, even bubbles survive the air fryer heat and give loft. Use a gentle folding motion with a spatula to keep those bubbles intact; aggressive stirring increases gluten and kills lift. Adjust surface tension by adding a splash of melted butter or oil; fats lower surface tension and help bubbles expand without bursting. Rest batter briefly to relax gluten, then cook quickly for even rise and tender crumb. Flip gently once and resist pressing while cooking through please.
Step-by-Step Air Fryer Method
First, you’ll prep your batter and arm yourself with the essentials—spatula, oil spray, and a greased pan or parchment that fits the basket. Preheat the air fryer so it reaches the right temperature for even browning. Then you’ll cook the pancakes, flip when edges set or bubbles appear, and finish until golden and cooked through.
Prep Batter and Tools
Gather your ingredients and favorite tools so you can move quickly once the batter’s ready: a mixing bowl, whisk or fork, measuring cups, a squeeze bottle or ladle for pouring, and a shallow, air-fryer–safe pan or silicone round molds. You’ll prioritize measuring precision and tool sanitation before mixing: dry ingredients sifted, wet measured, and utensils wiped. Whisk gently to avoid over-mixing—small lumps are fine. Transfer batter to your pouring tool for neat circles.
- Use a squeeze bottle for control.
- Keep a damp cloth nearby for quick spills.
- Set molds or pan inside the basket before pouring.
Work efficiently so batter doesn’t sit, and rinse tools immediately to keep cleanup simple and sanitary. You’ll get consistent, fluffy results with minimal fuss daily.
Preheat the Air Fryer
Before you pour batter, you’ll want to preheat the air fryer so the pancakes start cooking immediately and brown evenly. Set it to 350°F (175°C) for about 3–5 minutes—check your model’s manual. Use a quick safety checklist: confirm the basket is clean, the rack’s secure, and no foil or plastic is inside. Preheating helps batter set fast and gives consistent texture. Don’t overdo time; extended preheat wastes energy and raises energy consumption unnecessarily. If your unit has an eco or quick-heat mode, use that. While it warms, line your small cake pan or spray the basket to prevent sticking. When the indicator shows ready, you’ll be set to pour without delay, keeping timing predictable and results reliable. Quick preheat improves browning and cuts overall cooking variability markedly.
Cook, Flip, and Finish
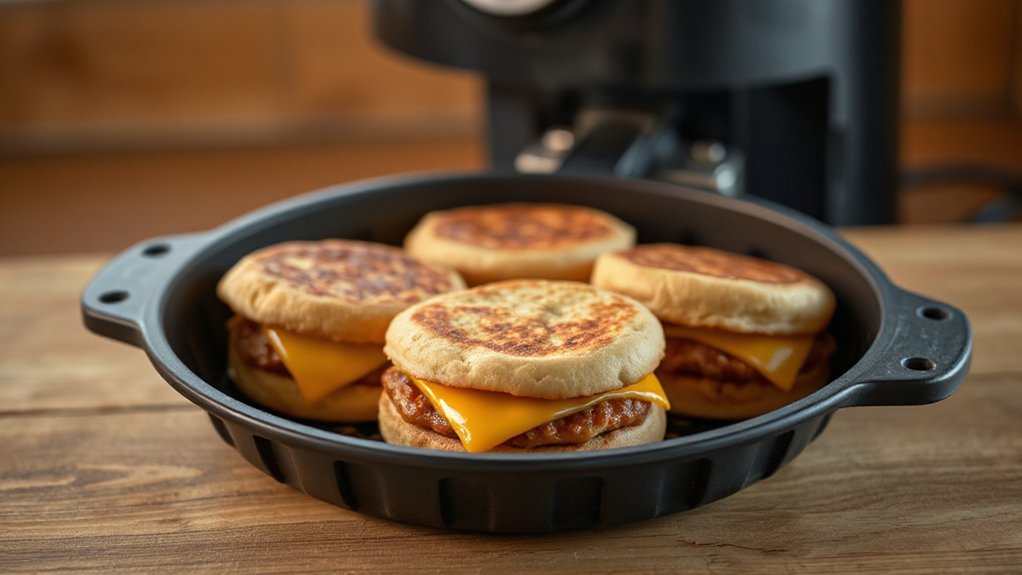
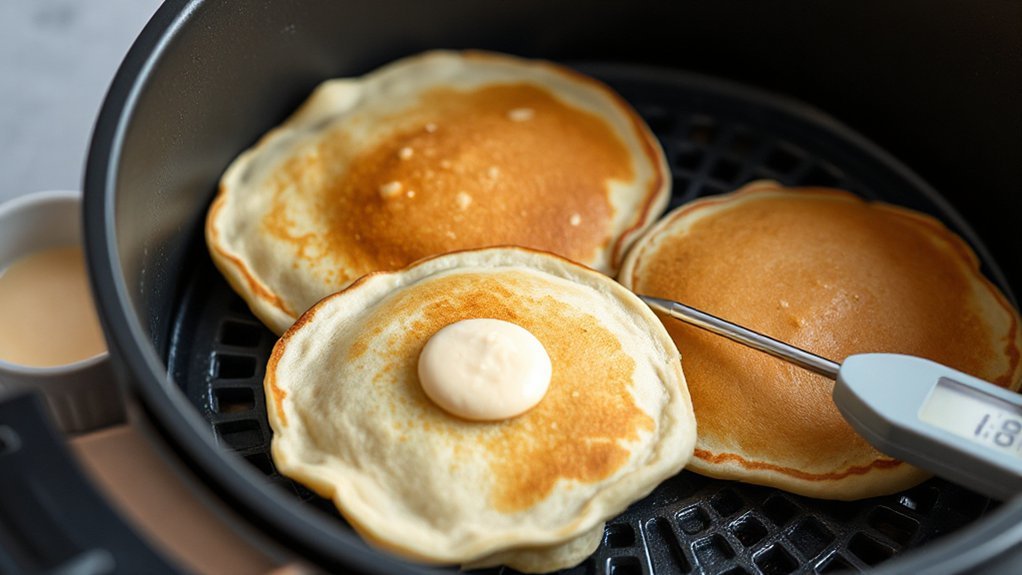
Once the air fryer’s hot, you’ll pour batter into your prepared pan or greased basket, space pancakes so they don’t touch, and slide them in to cook at 350°F (175°C). Cook 4–6 minutes, then check edges for set and bubbles on top. Flip gently with a thin spatula, then cook another 2–3 minutes until golden. Finish with a quick broil mode if you want extra browning (watch closely).
- Use a small offset spatula to flip without deflating.
- Experiment with mini molds for photo styling and neat rounds.
- Involve kids for kid engagement: let them sprinkle berries or add chocolate chips.
Remove, rest a minute, and serve warm for best texture. Tip: keep a towel nearby for swift basket grips and to protect little curious hands.
How to Prevent Soggy or Rubbery Pancakes
You’ll avoid soggy or rubbery pancakes by controlling moisture and heat: preheat the air fryer, don’t overcrowd the basket, and keep your batter slightly thicker than usual so it sets quickly. Next, use minimal wet toppings straight from the fridge—berries or syrup are fine, but pat fruit dry and spoon syrup sparingly to limit topping moisture. Let pancakes rest briefly on a wire rack, not a plate, to prevent steam building up; plate condensation will soften edges fast. Cook in small batches so hot air circulates evenly; crowded stacks steam instead of crisping. If you like butter, melt a little on the surface just before serving rather than soaking during cooking. Flip once, gently, to avoid compressing the crumb. Cool for a minute so interiors finish setting. These small steps keep edges tender but not gummy and centers light not rubbery, giving you fluffy, pleasant pancakes every time.
Timing and Temperature Guidelines
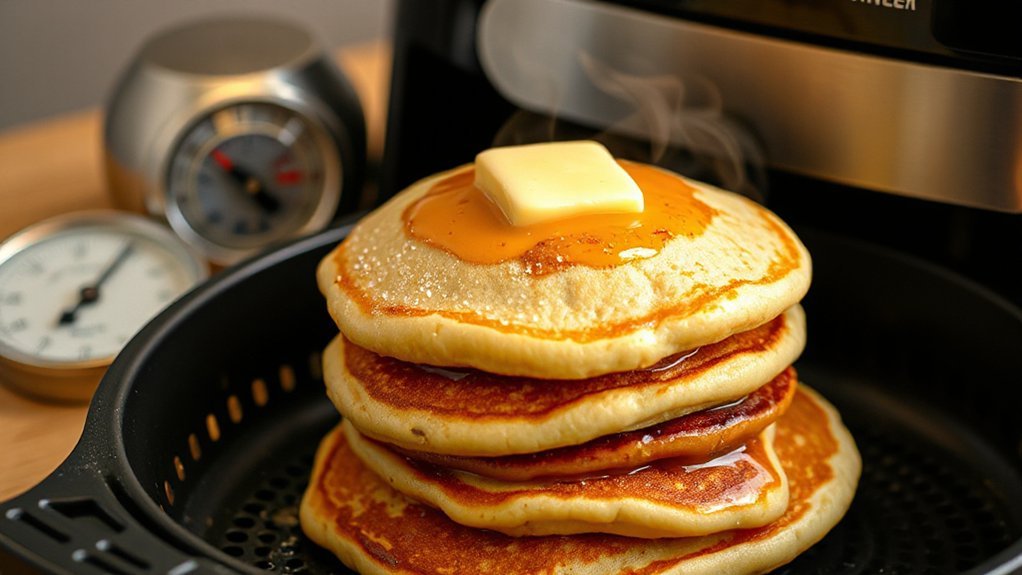
If you want golden, fluffy pancakes, set the air fryer to 350°F (175°C) and cook for about 4–6 minutes, flipping once halfway through. You’ll get consistent edges and a tender crumb at that baseline, but you should tweak time and temp for your unit. Perform device calibration if your model runs hot or cool; an oven thermometer in the basket helps.
- For small, thin pancakes: 4 minutes total, flip at 2 minutes.
- For thicker, American-style cakes: 5–6 minutes total, flip at halfway.
- If you’re at high elevation, use slight altitude adjustments: increase temperature by 5–10°F and add 30–60 seconds.
Preheat 2–3 minutes, avoid overcrowding, and check doneness visually—light golden color and springy centers. With modest tweaks and a quick device calibration check, you’ll nail timing and temperature every time. Keep a note of adjustments for future runs so you don’t repeat trial-and-error each breakfast again
Flavor Variations and Add-Ins

Experimenting with mix-ins and flavors makes breakfast fun, and you can easily customize air fryer pancakes to suit sweet, savory, or diet-friendly tastes. Start small: fold blueberries or dark chocolate chips into batter, or stir in mashed banana for natural sweetness. For savory twists, add chopped chives, shredded cheddar, or a pinch of smoked paprika. Use seasonal toppings like roasted stone fruit in summer or spiced apples in fall. Keep portion sizes balanced so pancakes cook evenly.
| Mix-In | Best For |
|---|---|
| Blueberries | Sweet, quick breakfasts |
| Cheddar & chives | Savory twists |
| Mashed banana | Moist, diet-friendly swaps |
| Cinnamon apples | Seasonal toppings |
You’ll want to test one change at a time so texture stays fluffy and cooking time remains consistent. If you’re avoiding sugar, swap applesauce or yogurt to keep moisture without extra calories. Small add-ins won’t change air circulation much, but large chunks may need slight time tweaks—watch edges for doneness and enjoy every bite.
Reheating and Storing Leftovers
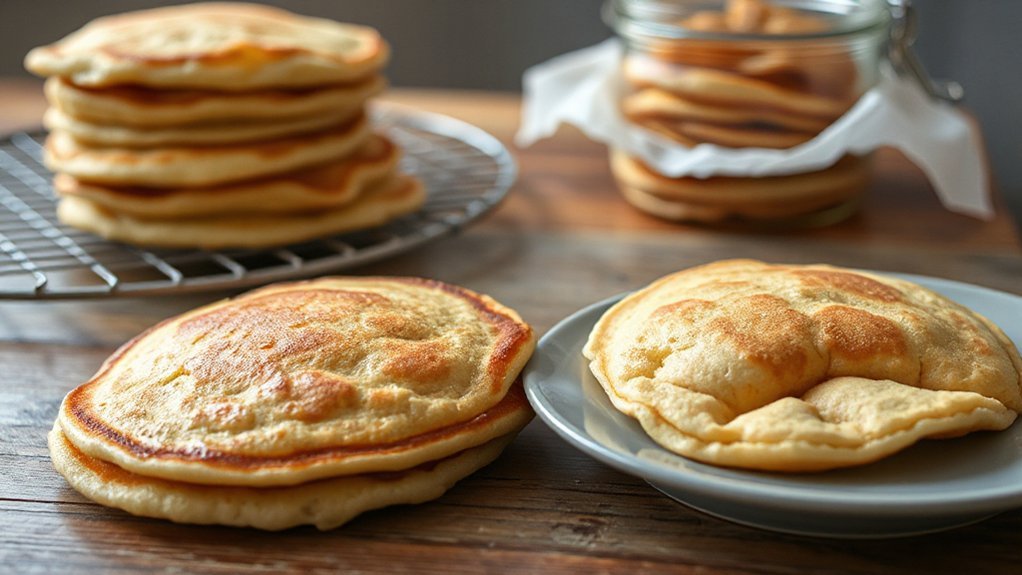
After trying different mix-ins, keep extras tasting fresh by cooling pancakes completely, stacking them with parchment between layers, and storing in an airtight container in the fridge for up to 3 days or in the freezer for 1–2 months. When you’re ready, pick a reheating method that matches your time and texture goals. For quick mornings, microwave revival works: place a damp paper towel over pancakes and zap in 15–20 second bursts until warm. For crisper edges, use your air fryer at 300°F (150°C) for 3–5 minutes from fridge, slightly longer from frozen. To maintain quality, note the fridge lifespan and freeze date on the container so nothing gets forgotten.
Cool, layer with parchment, refrigerate 3 days or freeze 1–2 months; microwave damp or air-fry for crispness.
- Quick: microwave revival with damp towel for softness
- Crispy: air fryer refresh at low temp for a few minutes
- Make-ahead: freeze single layers for easy grab-and-go
Label containers, thaw overnight in the fridge when possible, and enjoy them fresh.
Troubleshooting Common Problems
Why are your air fryer pancakes turning out dense, gummy, or unevenly browned? You’ll usually trace problems to batter, temperature, or airflow. If batter’s too thick or overmixed, add milk and fold gently. Use room-temperature eggs and measure leavening accurately. For uneven browning, avoid overcrowding and rotate the tray halfway; crispy edges need space for hot air circulation.
Gummy centers often mean undercooking—extend time in 30‑second increments and check with a toothpick. Dense texture? Check your baking powder’s freshness.
If your pancakes pick up weird smells, address Odor Removal: run a lemon‑vinegar steam cycle and dry thoroughly before next use. Regular Appliance Maintenance prevents issues—clean crumbs, grease, and vents after each batch and replace damaged racks or seals. Keep a small silicone mat or parchment to prevent sticking, but don’t block vents. With these fixes you’ll get fluffy, evenly browned pancakes every time. Troubleshoot quickly and enjoy breakfast.
Conclusion
Think of your air fryer as a tiny sunlit stage where you, the director, coax batter into golden performers. You’ll tweak heat and timing like a conductor, and before you know it, fluffy pancakes take a bow. When you follow the steps, you won’t dread rubbery flops or soggy encores. Store leftovers like treasure, reheat with care, and keep experimenting—your kitchen’s the rehearsal space, and every batch gets better with love and a hungry smile.