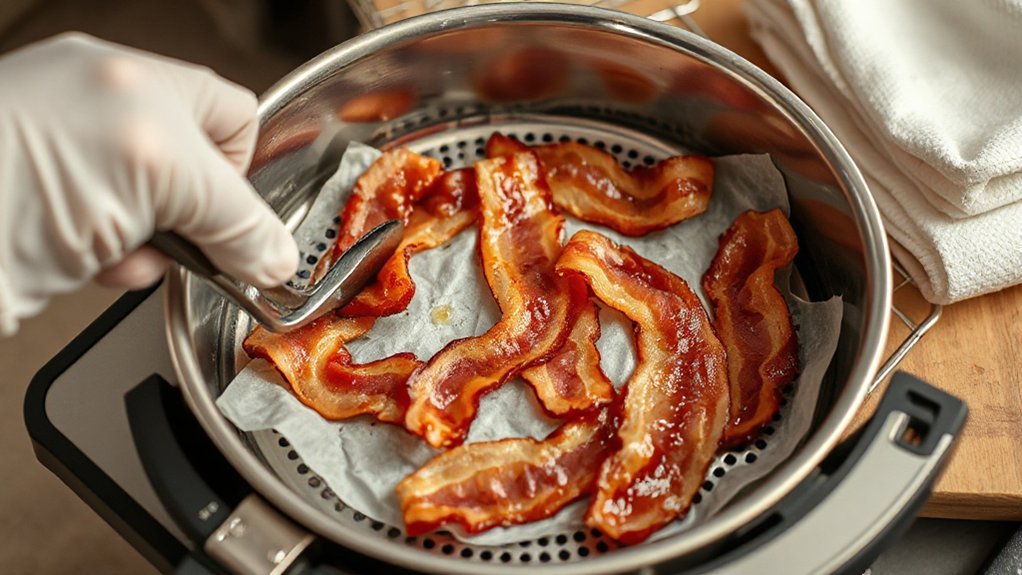
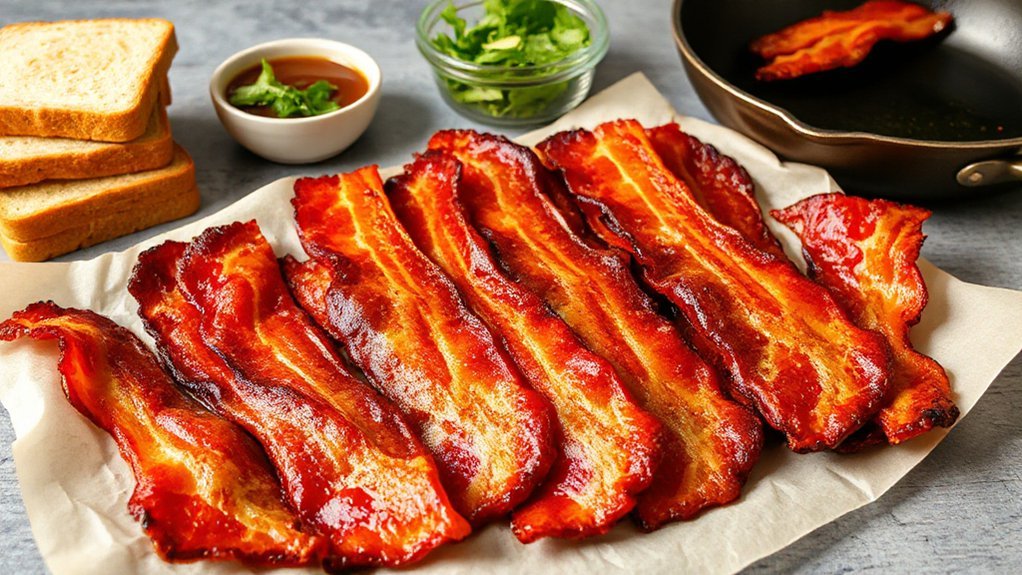
You’ll get extra‑crispy, no‑splatter bacon by using an air fryer at 375°F, single‑layer slices with small gaps, flipping once mid‑cycle, and pulling when edges are mahogany‑brown — residual heat finishes rendering. Start conservatively with times by thickness (thin 6–8, regular 8–12, thick 12–16 minutes), pat slices dry, and use a middle rack for even airflow. Follow simple grease‑management tips and quick clean steps, and keep going to master timing and texture; more pro tweaks are ahead.
Why the 2026 Air Fryer Bacon Method Works
Because modern air fryers combine rapid convection with precise temperature control, you get evenly crisp bacon without babysitting the pan. You’ll notice Maillard acceleration as sugars and amino acids hit steady, high heat, producing deep, savory browning faster than in a skillet. Fat renders efficiently as circulating hot air promotes Lipid restructuring, letting solid fats melt and redistribute so edges crisp while centers stay tender. You don’t need to flip constantly; steady airflow and consistent temperature give uniform cooking across strips. Because moisture evaporates quickly, you’ll get a concentrated bacon flavor and a firmer texture without oil splatter. You can dial in time and temperature to match thickness and preferred chewiness, and small adjustments have predictable results thanks to controlled heat profiles. Follow simple timing tests and you’ll replicate the 2026 method reliably, yielding batch after batch of evenly caramelized, crisp bacon. You’ll love the ease and results.
Essential Equipment and Safety Tips
Before you start, check your air fryer’s specs—capacity, temperature range, and whether it has a drip tray—so you know how much bacon fits and how hot it can get. You’ll want heat-resistant gloves or tongs and an oven mitt handy to handle hot racks and splattering grease. Place the fryer on a stable, heatproof surface with plenty of clearance from cabinets and curtains to keep things safe.
Air Fryer Specs
A sturdy basket and a solid heating element make all the difference—so pick an air fryer with the right capacity (about 3–6 quarts for 2–4 people), 1,200–1,800 watts, and a temperature range up to 400°F. You’ll notice wattage differences affect heat-up time and crisping power, so don’t assume bigger is always better—balance energy with control. Look for nonstick, PFOA-free coatings and sturdy stainless-steel or coated aluminum build materials that resist warping and stickiness. A tight-fitting lid or drawer keeps heat consistent, and reliable controls let you dial exact temps for bacon’s sweet spot. Removable racks and dishwasher-safe components speed cleanup. Choose models with clear airflow paths and durable fans; they keep slices evenly browned without you babysitting the basket for perfect crispy results daily.
Safety Gear and Placement
When you crisp bacon in the air fryer, you’ll want to think beyond the basket—grab sturdy oven mitts, a heatproof trivet, and a splatter pad or drip tray to protect your countertop. Use long tongs to lift strips, keep sleeves rolled, and set a timer so you’re not distracted. Place the fryer on a stable, heat-resistant surface, away from curtains and overhangs. Keep kids and pets at a safe distance—establish child safety rules and secure pet barriers so curious hands and paws stay clear. Have a metal tray or pan ready for hot grease disposal and wipe spills immediately. If smoke appears, cut power and vent the area. These precautions make crispy bacon fast, safe, and repeatable, enjoyable every single time for sure.
Choosing the Best Bacon for Crispy Results
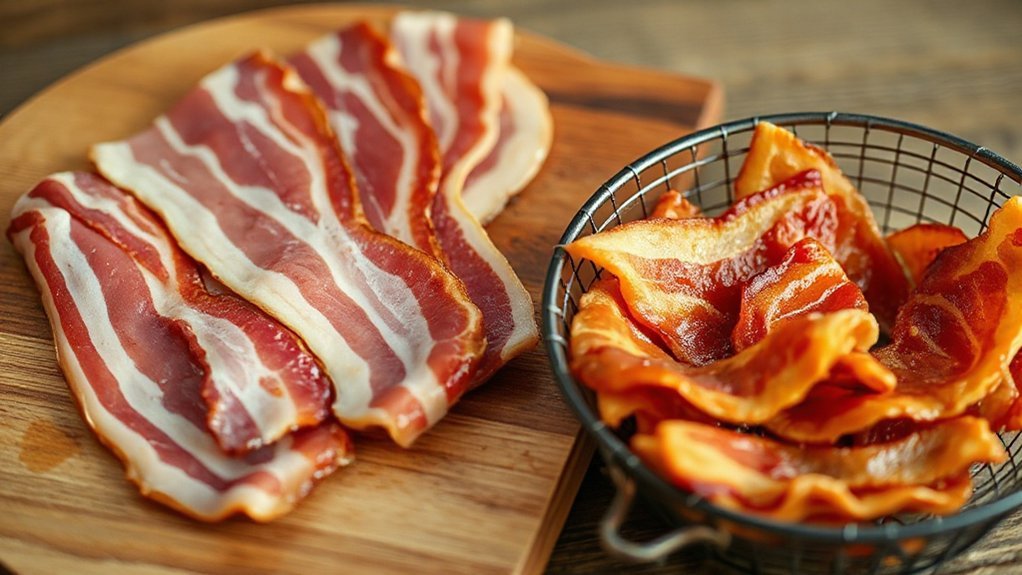
To get irresistibly crispy air-fryer bacon, you’ll want to think about slice thickness and the fat-to-meat ratio. Thin slices crisp up fast and get crunchy edges, while thicker-cut bacon stays meatier and needs more time. Higher fat content renders better crisping but can cause excess grease, while leaner cuts crisp too but risk drying out.
Slice Thickness
Choosing the right slice thickness makes a huge difference in how crispy your bacon gets in the air fryer. You’ll want thin slices for fast, shatter-crisp results and thicker slices when you like a meatier chew with a crisp edge. In the air fryer you control time and temperature, so adjust for thickness: shave off a minute or two for thin cuts, add a few minutes for thick. Consider how regional preferences and the historical evolution of bacon shapes influence what you buy — some areas favor wafer-thin, others prefer slab-like cuts. Try samples: cook one thin and one thick batch, note timing and texture, then pick the thickness that matches your crunch craving and sandwich needs. You’ll master crispiness faster with this brief experiment.
Fat-to-Meat Ratio
Most bacon has roughly 40–50% fat, and that amount makes a big difference in how quickly and evenly it crisps in an air fryer. You’ll notice higher-fat slices render faster, producing rapid browning and lots of crisp edges, while leaner bacon takes longer and risks drying out. Choose mid-range fat for reliable Texture and even cook; if you want ultra-crisp, pick fattier cuts but watch for flare-ups and pooling grease. Consider Flavor Balance: fat carries flavor, so fattier bacon tastes richer. Also consider Nutritional Impact: more fat increases calories and saturated fat. Trim small bits to adjust, or mix slices to get your preferred crispness and flavor without sacrificing control or health goals. Experiment a few times to dial in your perfect balance daily.
Prepping Bacon for Even Rendering
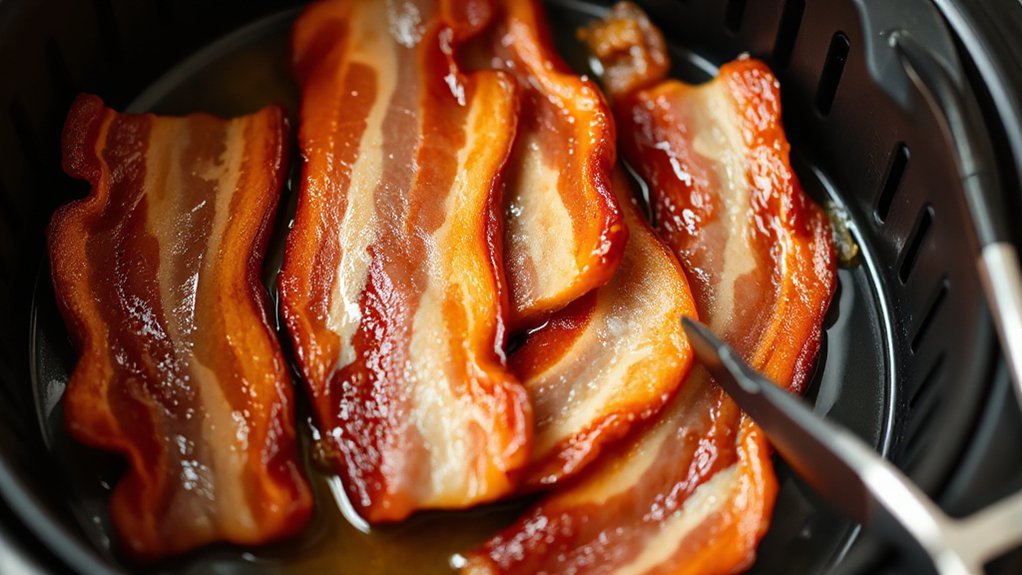
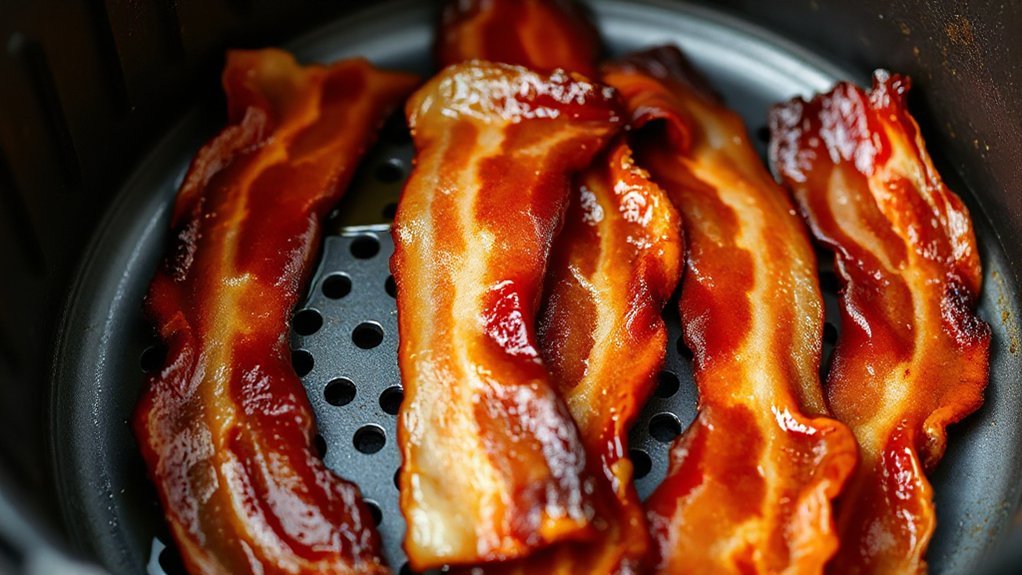
If you want perfectly rendered bacon, lay the slices in a single layer with a little space between each so hot air can circulate and fat can drip away. You’ll Pat Dry each slice to remove surface moisture, and Score Ends lightly to prevent curling so strips brown evenly. Don’t overlap; stagger shorter pieces so airflow reaches all surfaces. Trim ragged bits for uniform widths so slices cook at the same rate.
| Tip | Why it helps |
|---|---|
| Pat Dry | Reduces steam, improves crisp |
| Score Ends | Stops curling for even contact |
| Trim | Promotes uniform thickness |
| Stagger | Maximizes air circulation |

Use cold bacon straight from the fridge, only bring to room temp briefly if needed. Load with tongs and check midway to reposition any curling pieces for consistent rendering and extra-crispy results. These simple prepping steps cut cooking variance, saving time and producing even color, crisp edges, and reliably perfect texture.
Step-by-Step 2026 Method for Perfect Slices
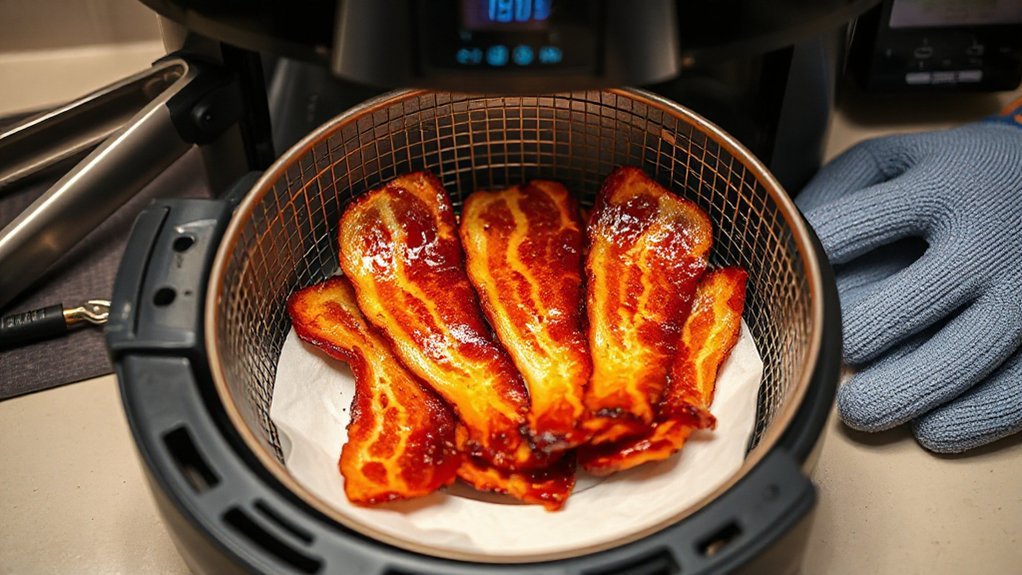
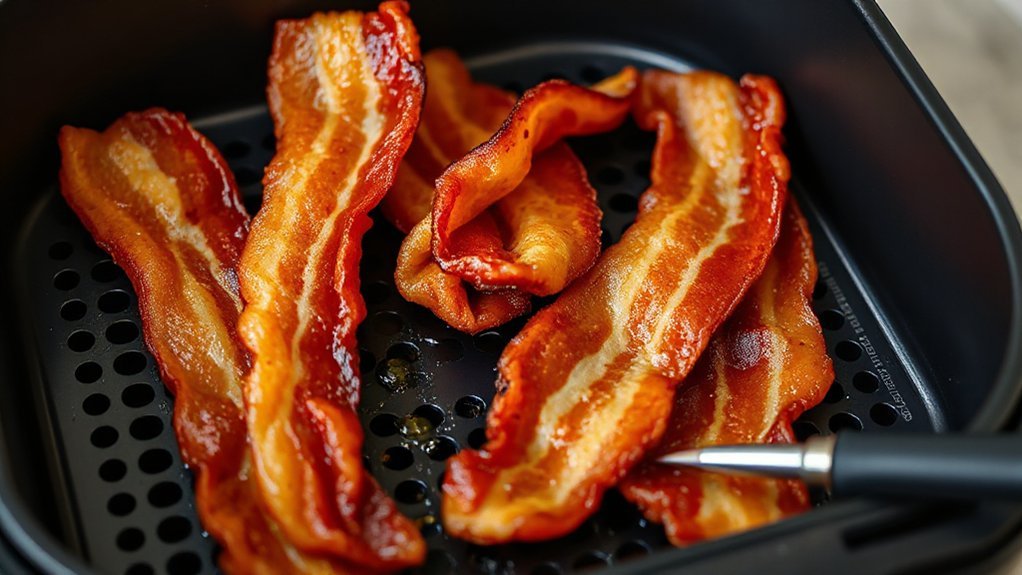
Start by preheating your air fryer to 375°F (190°C) so it’s hot enough to crisp quickly without burning. Lay slices in a single layer, not overlapping, and leave tiny gaps for airflow. Follow this Sequence Checklist: arrange, flip halfway, drain, rest. Use tongs to place and remove slices; you’ll avoid splatter and keep shapes intact. After the first run, flip each slice once to promote even browning.
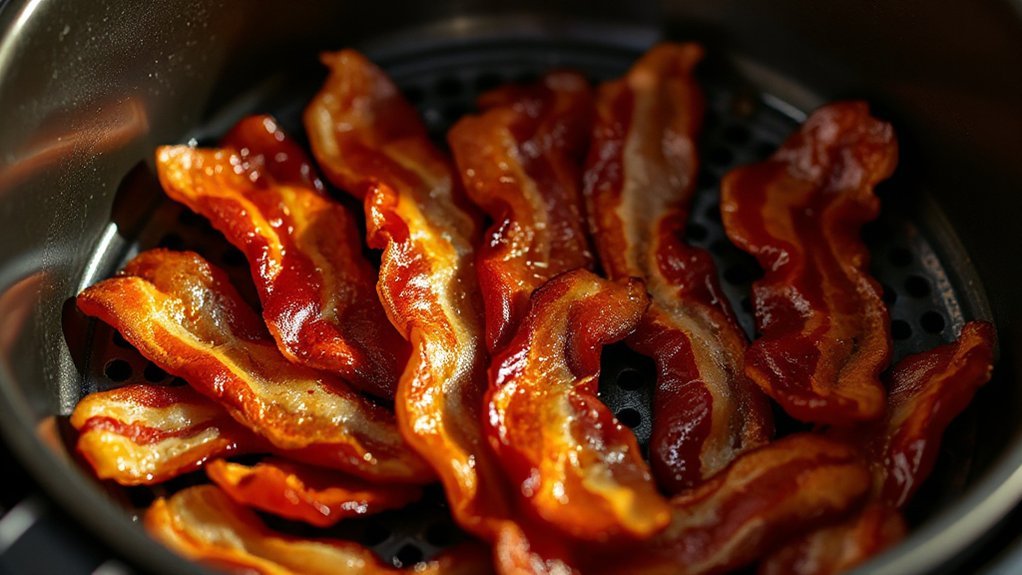
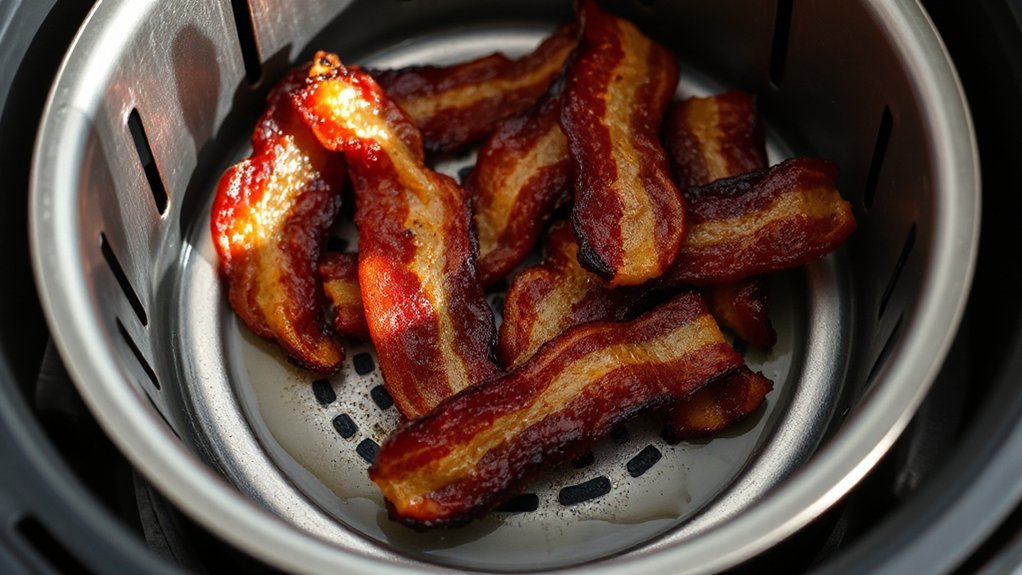
Watch for Visual Cues: edges should darken and curl slightly, fat will render translucent, and small bubbling means it’s progressing. When edges are golden-brown and most fat looks crispy but not charred, pull a test slice. Drain excess oil on paper towels for a minute to firm crispness. Rest briefly so carryover crisping finishes the job. Use the checklist every time and you’ll get perfect, consistently crispy slices with minimal fuss. Repeat this Sequence Checklist for reliable results every single time.
Temperature and Timing Guide for Different Thicknesses
Because bacon thickness changes how heat moves through the meat, you’ll want to tweak both temperature and time rather than using one setting for everything: aim for thin slices (paper-thin to ~1/16–1/8″) at 350–360°F for about 6–8 minutes, regular cut (~1/8–1/4″) at 375°F for 8–12 minutes, thick-cut (~1/4–3/8″) at 380–400°F for 12–16 minutes, and extra-thick or slab-style pieces at 375–400°F for 15–25+ minutes (lower temps and longer times help render fat without burning). You’ll watch for visual cues — bubbling fat, edges crisping, and a deep mahogany — rather than an obsession with the clock. If your kitchen’s Ambient temperature is cold, add a minute or two; at high altitudes, use an Altitude adjustment (slightly longer time or higher temp) because thinner air transfers heat differently. Start conservatively, flip mid-cycle if needed, and pull when the color and texture match your preference; the residual heat will finish rendering without overcooking.
Rack Placement, Layering, and Airflow Tricks
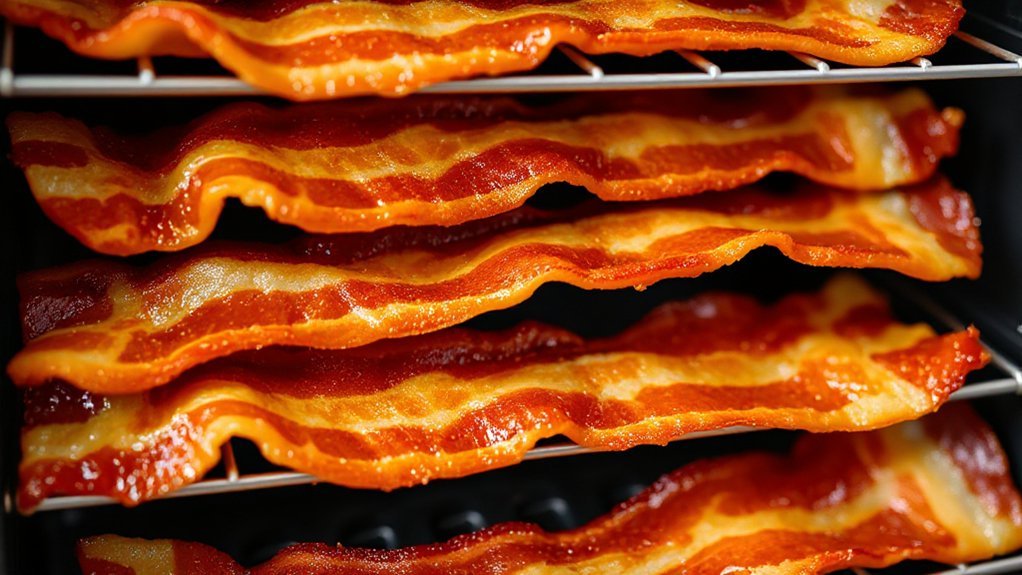
You’ll get crispier, more even bacon by placing the rack in the middle or just above center so hot air reaches both sides. Don’t overcrowd — lay strips in a single layer with small gaps so air can circulate and fat can drain. If you need more capacity, stagger a loose second layer or use a raised rack but keep at least about 1/2 inch clearance above and below for proper airflow.
Optimal Rack Height
While it might seem minor, rack height is one of the biggest levers you’ve got for dialing bacon crispness and evenness—move the rack closer to the heating element for faster browning and farther away for gentler cooking and less flare-ups. You’ll use height to tune texture, browning, and even the visual presentation of strips, while keeping reach ergonomics in mind so you don’t burn your fingers. Aim for middle-high for quick crisp, middle for balanced, low for slow render. Small adjustments change results dramatically.
- Close: rapid sear, darker edges
- Mid-high: crisp center, quick fat drain
- Middle: even cook, predictable timing
- Low: tender, less charring
- Split levels: staggered layers for batch cooking
Experiment a notch at a time and note times. Adjust, repeat, and enjoy.
Maximize Airflow Clearance
You already learned how height changes browning—now let’s focus on clearing the air so every strip gets even, crispy heat. Place bacon on a single layer when possible; overlapping traps steam and softens edges. If you must stack, stagger strips on elevated racks to expose both sides. Aim for at least a finger-width gap between pieces and between the meat and fryer walls to honor basket spacing recommendations. Keep vents clear—regular vent maintenance prevents hot spots and maintains steady circulation. Flip only if necessary; good clearance often eliminates flipping. Use perforated trays or wire racks to let fat drip away while maximizing flow. You’ll get faster, crunchier results with minimal splatter when you prioritize airflow over crowding. Small tweaks deliver reliably perfect bacon every.
Grease Management and Fast Cleanup
Managing grease keeps your air fryer running great and cleanup speedy. You’ll thank yourself when bacon fat doesn’t pool or smoke; choose liner options like perforated parchment or reusable silicone to catch drips without blocking airflow. Let grease cool slightly, then pour into a jar for grease recycling or wipe away excess with paper towels. Clean quickly to prevent burnt residue.
- Hot drips glinting into a jar
- Perforated paper cradling strips
- Silicone mat catching droplets
- A small funnel guiding fat
- A towel wiping gleam from metal
While the basket’s still warm, wipe with a damp cloth and mild dish soap; avoid abrasive scrubbers that dull nonstick coating. For stubborn spots, soak the basket briefly in hot soapy water, then dry thoroughly. Empty your grease jar into compost-safe containers or dispose per local rules — don’t pour down drains. Do routine checks weekly to keep odors and smoke from returning.
Serving Ideas, Storage, and Reheating
How do you turn a batch of air-fried bacon into meals all week long? Serve it hot with classic breakfast pairings — eggs, avocado toast, pancakes or breakfast sandwiches — to enjoy crisp texture and fat. For storage, cool strips on a rack, then layer between parchment in an airtight container; they’ll keep in the fridge 4–5 days or in the freezer. When you’re ready, try inventive leftover transformations: crumble into salads, fold into omelets, tuck into grain bowls, or chop for loaded mashed potatoes. To reheat, preheat your air fryer to 350°F (175°C) and heat slices 2–4 minutes until crisp; for frozen pieces, add a minute or two. You can also warm bacon on a sheet pan in a hot oven or in a skillet to revive crunch. Label and date containers so you can rotate supplies and enjoy crispy results all week. It’s truly meal-prep gold.
Troubleshooting Common Bacon Problems
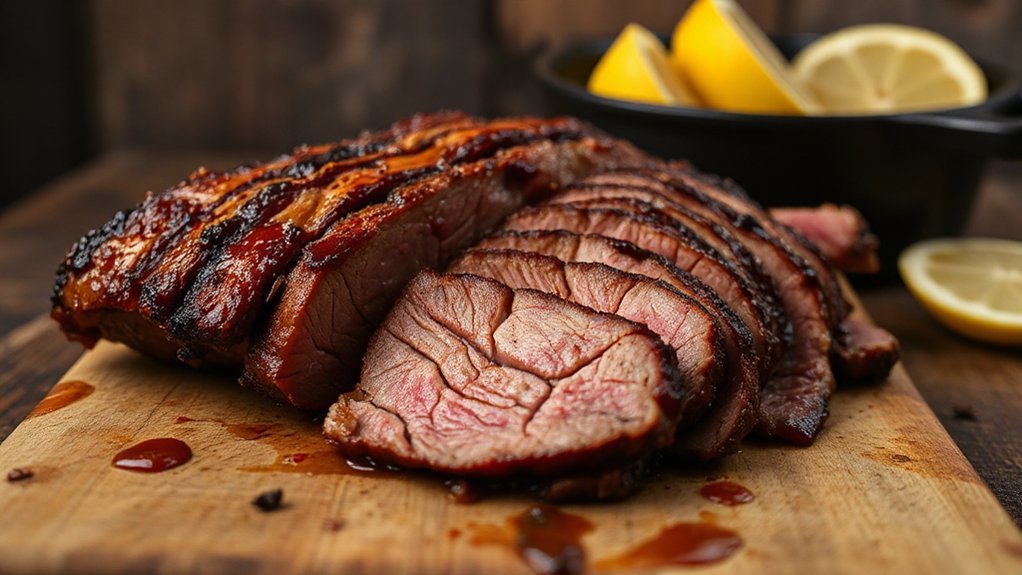
Why is your bacon coming out curled, uneven, or limp when the rest of the batch looks perfect? You’re not cursed — it’s technique and tiny fixes. Thin slices overcook fast; overlap traps steam. Try consistent thickness, single layer layout, and staggered flipping. For saltiness correction or smell removal, quick tricks help. Rinse cured bacon briefly and pat dry to tame salt, or serve with a squeeze of lemon to balance. Use paper towels to blot excess grease and absorb odor, or air out cooked strips on rack.
- Single layer, no overlap
- Same-thickness slices side by side
- Flip midway for even crisp
- Blot grease to control saltiness
- Lemon or vinegar dab for smell removal
Adjust time by 1–2 minutes per thickness and monitor. You’ll get uniform, crispy bacon without guessing. If smoke appears, lower temp and clean the tray — fat buildup causes flare-ups and uneven cooking immediately.
Conclusion
You’ve mastered the 2026 air fryer bacon method, so mornings feel like a well-directed kitchen symphony. You’ll get no-splatter, extra-crispy slices every time, like a secret handshake with your appliance. Keep the tricks—rack placement, grease control, and the right cut—close, and bacon rewards you like an old friend. Enjoy the crunch straightaway or save for later; either way, you’re just one confident flip away from breakfast legend. Taste proves the method, and mornings applaud you.