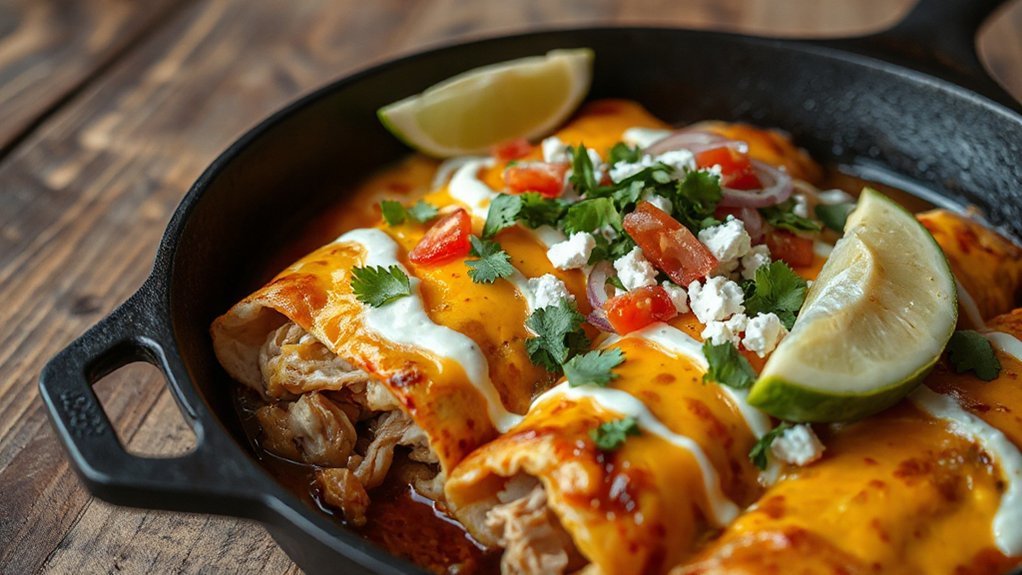
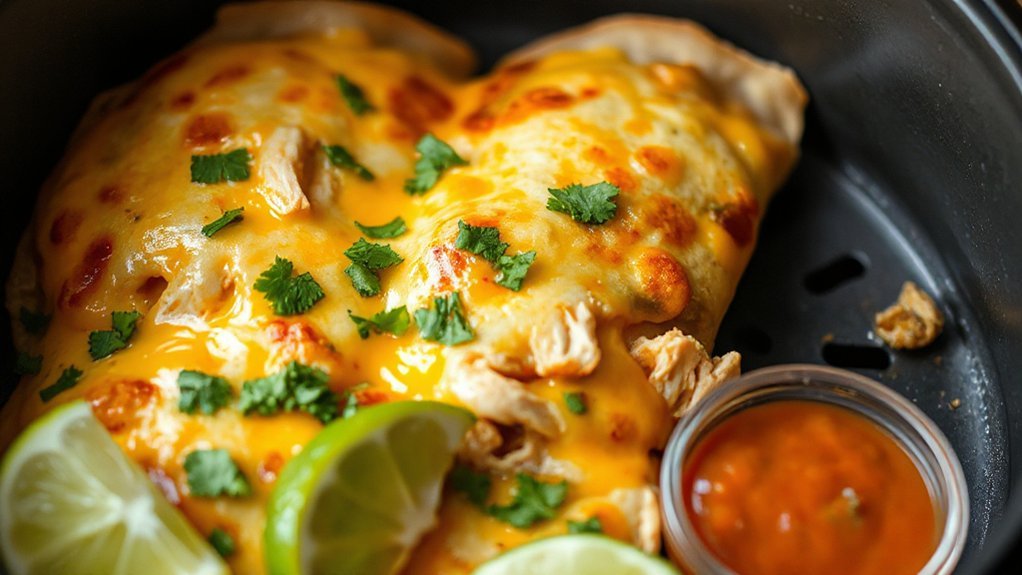
You can make melty, crispy chicken enchiladas in your air fryer in under 20 minutes using shredded seasoned chicken, warmed tortillas, a cheddar–Monterey Jack blend and a spoonful of enchilada sauce. Warm tortillas so they don’t crack, roll modest fillings, arrange seam-side down with space for hot air, then air-fry at 375°F about 8–10 minutes and blast to 400°F for 2–3 minutes to brown. Keep extras for toppings and tips if you want more today.
Ingredients You’ll Need
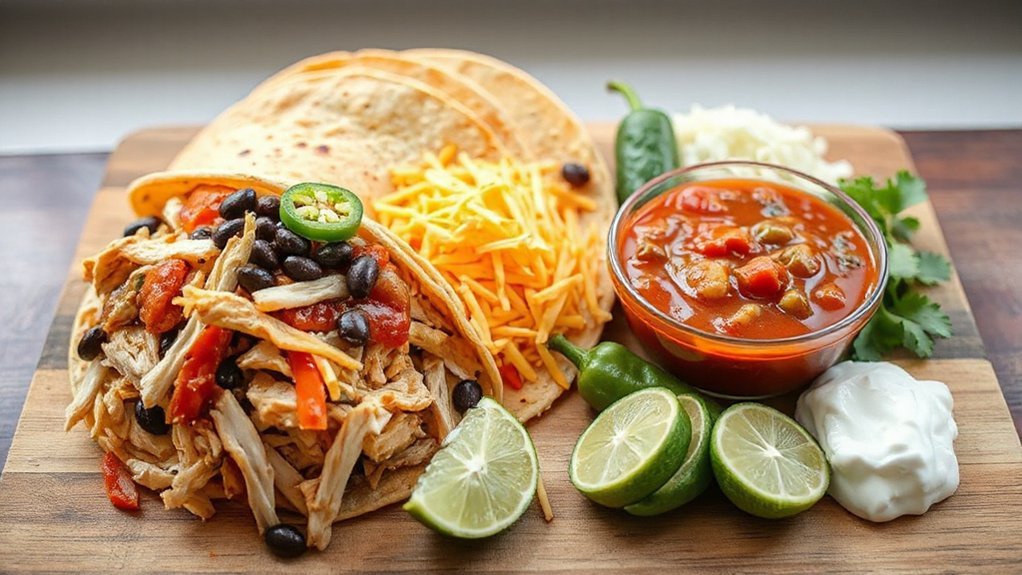
You’ll need a handful of simple, flavorful ingredients to make these cheesy air fryer chicken enchiladas come together—shredded cooked chicken, flour or corn tortillas, your favorite enchilada sauce, shredded cheese, and a few pantry staples like onions, garlic, and spices. Beyond those basics, pick a good melting cheese—monterey jack or cheddar works—and consider a bit of cream cheese or sour cream for extra creaminess. Use cooked chicken seasoned with cumin, chili powder, and salt; fresh cilantro and diced onions brighten the filling. For sauce, practice label reading: check sodium, sugar, and ingredient lists so you control heat and additives. When buying tortillas, compare brands for flexibility and size; same with canned enchilada sauce—brand comparisons help you find the flavor profile you like. Keep toppings simple: sliced olives, chopped scallions, and a squeeze of lime. These ingredients give you bold, balanced enchiladas without fuss and a sprinkle of paprika.
Equipment and Prep
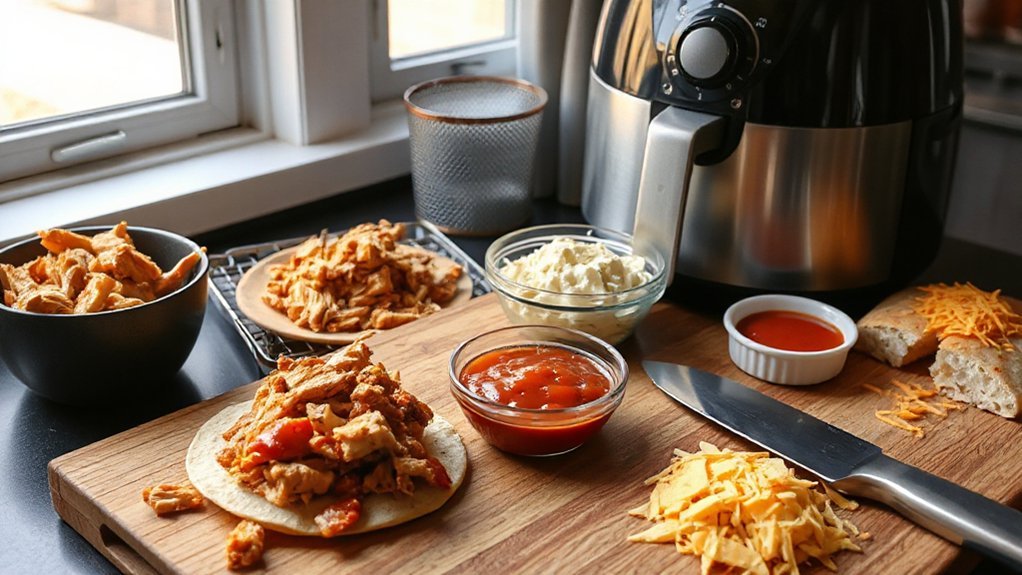
Gathering the right gear makes the whole process smoother: pull out your air fryer (or oven-safe basket), a shallow baking dish or foil-lined tray that fits inside, mixing bowls, a sharp knife and cutting board, tongs or a spatula for rolling, measuring spoons, and a grater for fresh cheese. Set up a clear workspace, wipe surfaces, and arrange tools so you won’t be hunting mid-recipe. Follow a safety checklist: hot surfaces, proper ventilation, and secure tray placement.
Keep small bowls for fillings handy and pre-measure spices. The list below highlights essentials to stage before you start:
- Air fryer or oven-safe basketor oven-safe basketand tray
- Mixing bowls and measuring spoons
- Sharp knife, cutting board, and grater
- Tongs or spatula and oven mitts
- Foil, paper towels, and a timer
Good workspace organization saves time and stress, and helps you focus on assembly and baking with confidence.
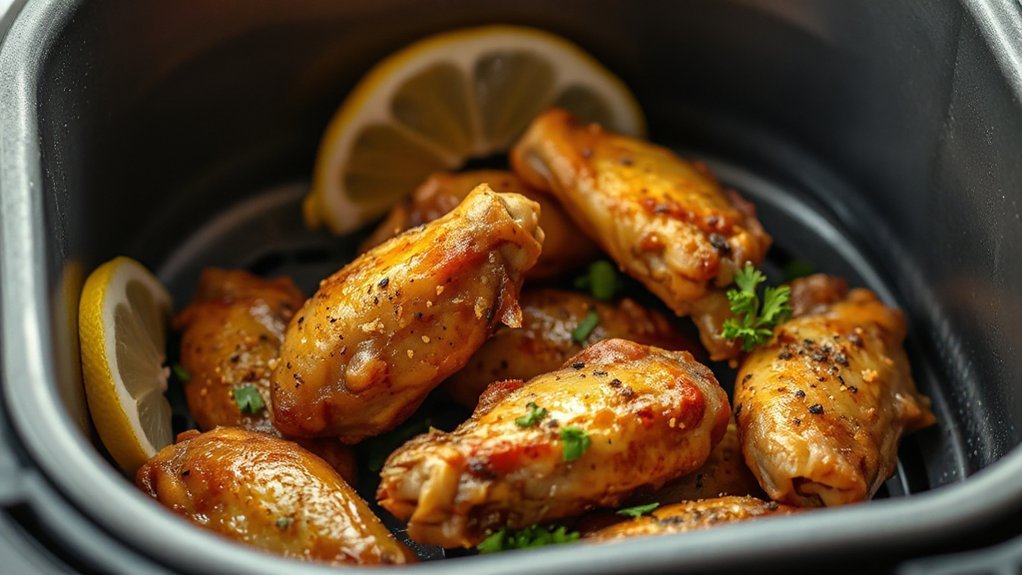
Quick Shredded Chicken Methods
Now that your workspace is set and tools are within reach, let’s talk quick ways to get tender shredded chicken for these enchiladas. You can poach boneless breasts or thighs in simmering broth for 12–15 minutes, then rest covered five minutes before shredding; that gentle heat preserves Protein Retention and keeps meat moist. For speed, use a pressure cooker: 10 minutes high pressure with natural release makes shredding effortless. If you’ve got leftovers, warm them briefly to 165°F and shred—always check Food Safety by refrigerating within two hours. Two forks or a paddle attachment both work; avoid overworking the meat to prevent dry strands. Tip: shred while slightly warm for easier pulling, then cool quickly if not using immediately. Label and date portions before freezing to maintain quality. These methods get you to filling assembly fast, without sacrificing flavor or safety. You’ll love how simple and reliable, too.
Making the Enchilada Filling
With your shredded chicken prepped, you’ll toss it in a zesty sauce mix that brings heat and tang. Then fold in a creamy cheese blend—think melty cheddar and tangy queso fresco—for richness. These three components come together quickly to make a filling that’ll hold up in the air fryer and taste irresistible.
Shredded Chicken Prep
Shredding chicken is the quick, satisfying step that turns plain cooked breasts into a flavorful enchilada filling—you can use leftover rotisserie, poached breasts, or breasts cooked in the air fryer. You’ll shred by two forks, a stand mixer, or by hand; pick what feels fastest. If you brined earlier you’ll notice Brine Benefits—juicier, seasoned meat. Use Resting Techniques after cooking: tent and wait 10 minutes so juices redistribute, making shredding cleaner. Pull fibers against the grain for tender strands. Reserve about a cup of cooking juices to moisten filling if needed. Toss shredded chicken with a little oil and spices to prevent dryness before assembling.
- Cool slightly before shredding
- Pull against the grain
- Use stand mixer for speed
- Save cooking juices
- Keep pieces bite-sized
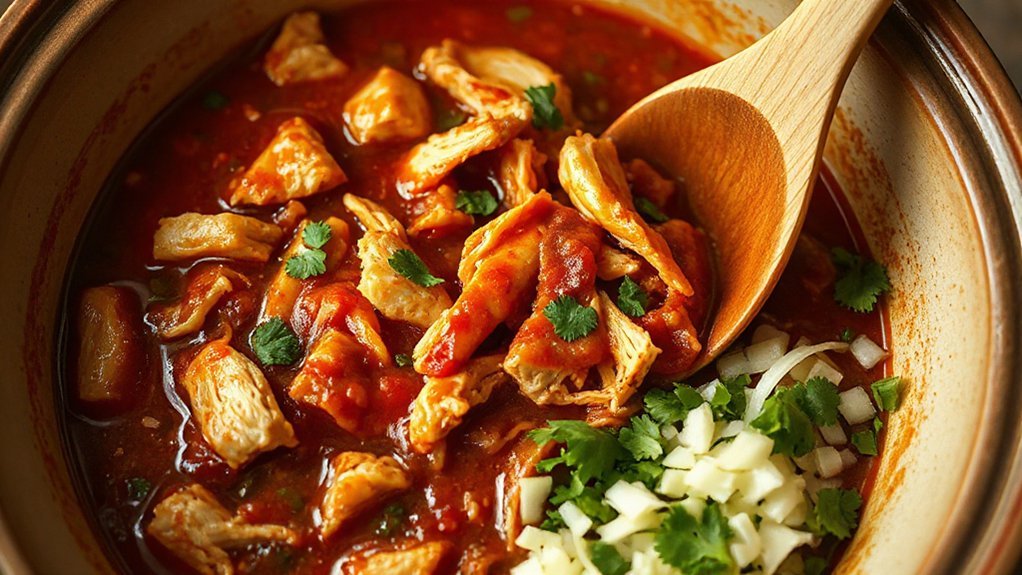
Flavorful Sauce Mix
Your shredded chicken is the base; the sauce brings heat, creaminess, and tang that turn strands into true enchilada filling. Mix sautéed onions, garlic, tomato paste, and a good chili powder base, then deglaze with chicken stock and a splash of lime for brightness. Stir in cumin, oregano and a touch of smoked paprika to nod to regional influences and add those smoky undertones without overpowering. Simmer until slightly reduced, then whisk in a little crema or sour cream to mellow the heat and bind the filling. Taste and adjust salt, acid, and spice; you want a balanced sauce that clings to the chicken and sings when you roll each tortilla. Make it ahead; flavors marry and the filling becomes easier to assemble later.
Creamy Cheese Blend
Think of the cheese blend as the glue that makes each enchilada ooze and hold together—you’ll want a mix that melts smoothly, tastes bright, and doesn’t turn greasy. You’ll combine cheeses to balance Melting Chemistry and Texture Science: a sharp, flavorful cheese for zip; a mild, high-moisture cheese for stretch; a creamy binder for richness; and a sprinkle of something salty. Stir gently with warm cream to coax a glossy, elastic filling that won’t separate in the air fryer. Taste as you go and adjust salt and acidity.
- Sharp cheddar for flavor depth
- Monterey Jack for melt and stretch
- Queso fresco for brightness
- Cream cheese for creaminess
- A pinch of cotija or salt
You’ll learn to tweak ratios until the filling sings every time.
Assembling the Enchiladas
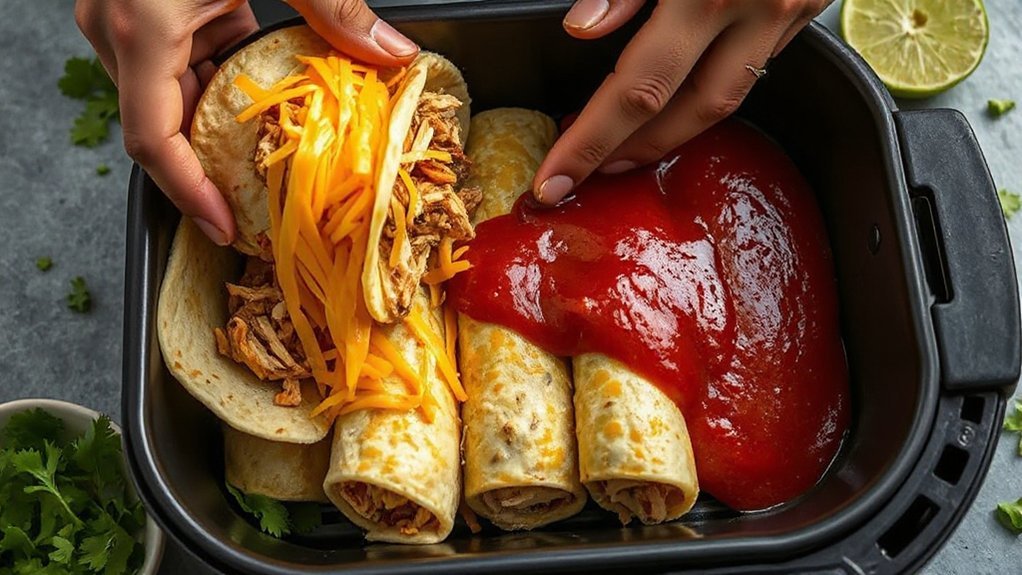


Grab a warmed tortilla, spoon a modest amount of filling down the center, sprinkle with cheese, roll it snugly, and set it seam-side down in the air fryer basket. You’ll get the best results when you focus on tortilla handling—keep them warm so they bend without cracking and don’t overfill. Work in a single layer, spacing enchiladas so hot air circulates freely. For neat presentation, wipe any stray filling from edges before you fold. Use a light dab of sauce or a thin line of cheese at the open edge to aid edge sealing; it helps the seam stay closed during cooking. If a tortilla resists rolling, give it ten seconds under a damp towel to soften, then try again. Arrange finished enchiladas seam-side down, aiming for uniform size so they cook evenly. You’ll find assembling becomes quicker and cleaner with a steady rhythm and tastes great too.
Air Fryer Settings and Cooking Times

Set your air fryer to 375°F and you’ll need about 8–10 minutes to heat through and melt the cheese, adjusting for tightly packed or larger enchiladas. Preheat for 3 minutes so the basket’s hot and you get crisp edges right away. Halfway through, flip or rotate the pan or individual enchiladas for even browning and check for bubbling cheese.
Temperature and Time
Before you start, preheat your air fryer to 375°F (190°C) and arrange the enchiladas seam‑side down in a single layer so air can circulate; cook for 8–10 minutes until they’re heated through and the cheese is melted, then crank it to 400°F (200°C) for 2–3 minutes if you want a golden, slightly crisp top. You’ll rely on consistent temps to finish fillings without drying; remember carryover cooking and thermal inertia will keep them warm after you pull them. Check one enchilada’s center—if it’s 165°F (74°C), you’re set. Adjust time for tight baskets or stacked pieces. Quick blast at 400°F adds color without overcooking.
- Monitor internal temp.
- Don’t overcrowd.
- Use 375°F for reheating.
- Finish at 400°F.
- Let rest briefly.
Trust your thermometer and your instincts.
Preheating Tips
Usually warm your air fryer for 3–5 minutes at 375°F so the basket reaches temperature; that steady heat helps your enchiladas cook evenly and lets a quick 400°F finishing blast brown the tops without overcooking. Preheating reduces overall cook time, so you save energy and improve energy efficiency by avoiding repeated cycles. While it warms, assemble enchiladas and check fillings are evenly distributed. Use oven mitts, keep the unit on a stable surface, and follow safety precautions like not overcrowding the basket and keeping vents clear. If your model has presets, use the manual 375°F setting for accuracy. Short preheat, confident timing, and basic safety make your cheesy enchiladas reliably golden and satisfying every time. You’ll get consistent results while minimizing energy waste overall.
Flipping and Rotation
Flip the basket or turn each enchilada once about halfway through cooking to get even browning and crisp edges. You’ll use simple flip mechanics: open the basket quickly, swivel trays or use tongs, and avoid soggy tops by minimizing heat loss. For rotation timing, aim for a single turn at 8 to 10 minutes in a 15 to 18 minute cycle, adjusting for your model. Keep the basket spacing so hot air circulates, and don’t overcrowd. After flipping, watch the final minutes for cheese bubbling and golden spots.
- Flip once at midpoint
- Space enchiladas for airflow
- Use tongs or spatula, not forks
- Adjust times per air fryer model
- Check doneness, then rest briefly
You’ll love the crisp edges when you serve them hot immediately.
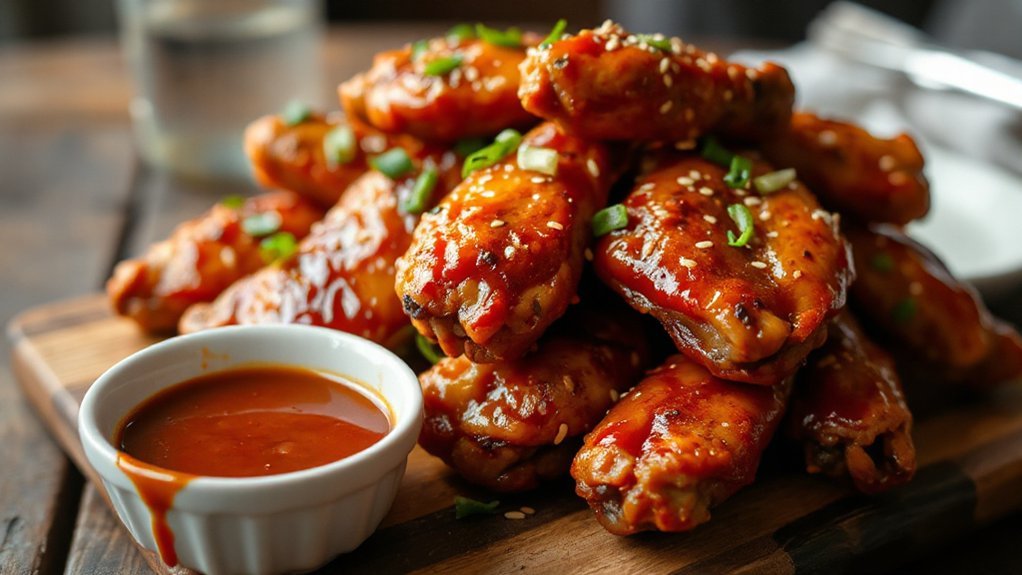
Cheese, Toppings, and Serving Ideas
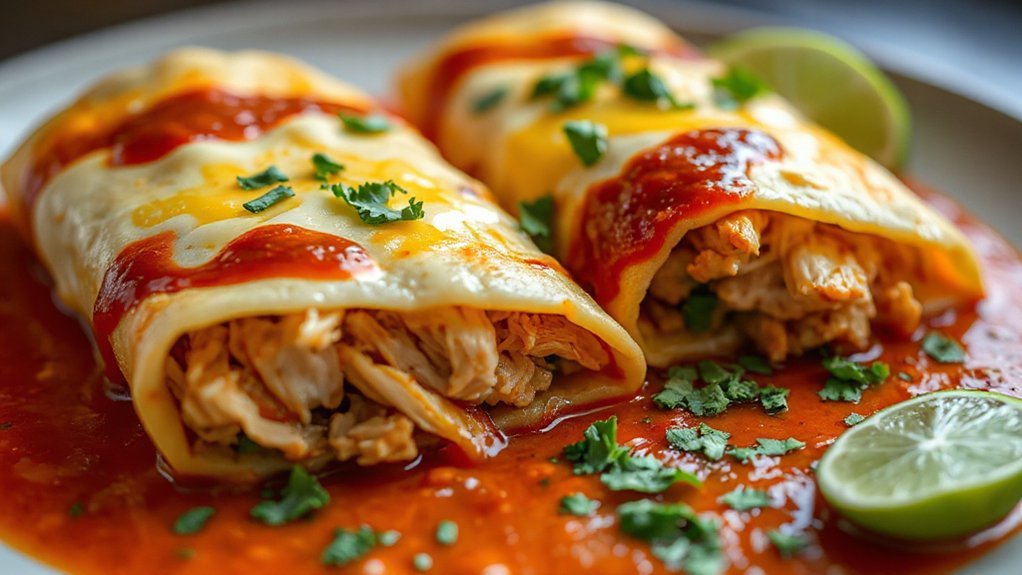
Want the meltiest, creamiest result? Layer a blend of Monterey Jack and sharp cheddar, fold in a little cream cheese for silkiness, and sprinkle queso fresco after air frying for bright contrast. Top with chopped cilantro, pickled red onions, and sliced avocado; a dollop of lime crema adds tang and balances richness. For texture, scatter toasted pepitas or crushed tortilla chips just before serving.
Think about Wine pairings and Plating styles: serve on warm, shallow plates with a smear of salsa verde or roasted tomato sauce, arranging enchiladas slightly overlapping for a homey yet deliberate look. Offer small bowls of extra toppings so guests customize their portions. Finish with a wedge of lime and a few microgreens for color. You’ll present confident, tasty enchiladas that taste as good as they look and invite immediate digging in. Don’t forget warm tortillas on the side for extra dipping pleasure too.
Storage, Freezing, and Reheating
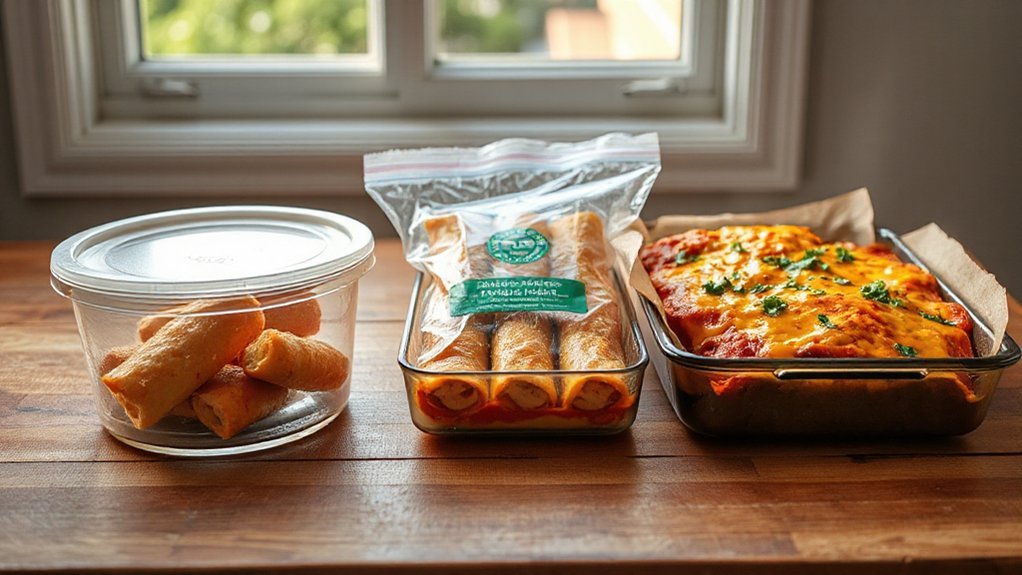
After the enchiladas cool for about 20 to 30 minutes so they don’t sweat in storage, tuck leftovers into airtight containers or wrap the baking dish tightly with plastic and foil to keep them moist. Label containers with date, then refrigerate up to 3 to 4 days. For longer storage, freeze portions flat in a single layer, then stack — vacuum sealing works great to prevent freezer burn and save space. Thaw overnight in the fridge before reheating.
Cool 20–30 minutes, store airtight, label, refrigerate 3–4 days or freeze flat—vacuum seal for longer.
- Refrigerate within two hours
- Freeze single portions flat
- Use vacuum sealing for long storage
- Steam reheating preserves moisture
- Reheat covered to avoid drying
When you’re ready to eat, pick oven, microwave, or gentle steam reheating. Oven at 350°F restores texture; microwave is quick if you cover the dish to trap steam. Reheat from frozen by baking covered, then uncover to crisp. Enjoy them warm and cheesy. Serve immediately and enjoy.
Tips, Variations, and Troubleshooting
If you’re aiming for reliably crispy, cheesy results every time, a few simple tricks will get you there: warm your tortillas so they don’t crack, don’t overstuff each roll, and use a slightly thick enchilada sauce so the filling stays moist without turning soggy. Let the air fryer preheat, spray lightly, and rest enchiladas briefly. Try variations like black beans, corn, or chorizo. For presentation ideas, garnish with cilantro, lime, crema, and pico de gallo. Troubleshoot: undercooked centers need longer at lower temp; soggy tops mean less sauce or a quick broil. Pair with simple sides and beverage pairings—crisp lager, margarita, or agua fresca. Keep notes on timing for your model; you’ll improve each run.
| Tip | Fix |
|---|---|
| Warm tortillas | Prevent cracks |
| Light spray | Crisp top |
| Less sauce | Avoid soggy |
Note adjust times by batch size and altitude; small tweaks yield perfect results every time.
Conclusion
You’re ready to dig in and you’ll find these cheesy air fryer chicken enchiladas hit that comfort-food sweet spot. You might’ve heard air frying robs dishes of moisture or depth—testing proved that quick-shredded chicken plus a saucy filling keeps things juicy and flavorful. You’ll enjoy the crisp tortilla edges and melty cheese without extra fuss. Try the variations, tweak spices, and trust your instincts; this recipe’s flexible, forgiving, and totally worth it every single time.