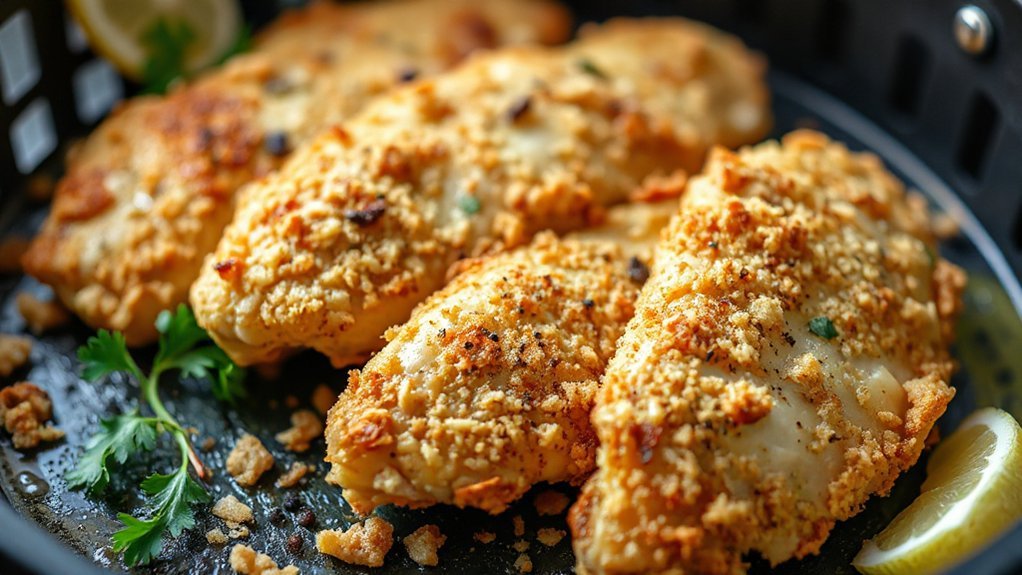
You’ll get ultra-crispy, juicy chicken cutlets in about 12 minutes by pounding boneless breasts thin, dredging in seasoned flour, egg, and panko–Parmesan, then air-frying at 380–400°F with a light oil spray. Flip once halfway for even browning and check for 165°F internal temp. Work in batches so they crisp instead of steaming. Serve with lemon, ranch, or marinara for instant weeknight comfort, and keep going for tips on prep, seasoning, storage, and reheating fast.
Why These Cutlets Work
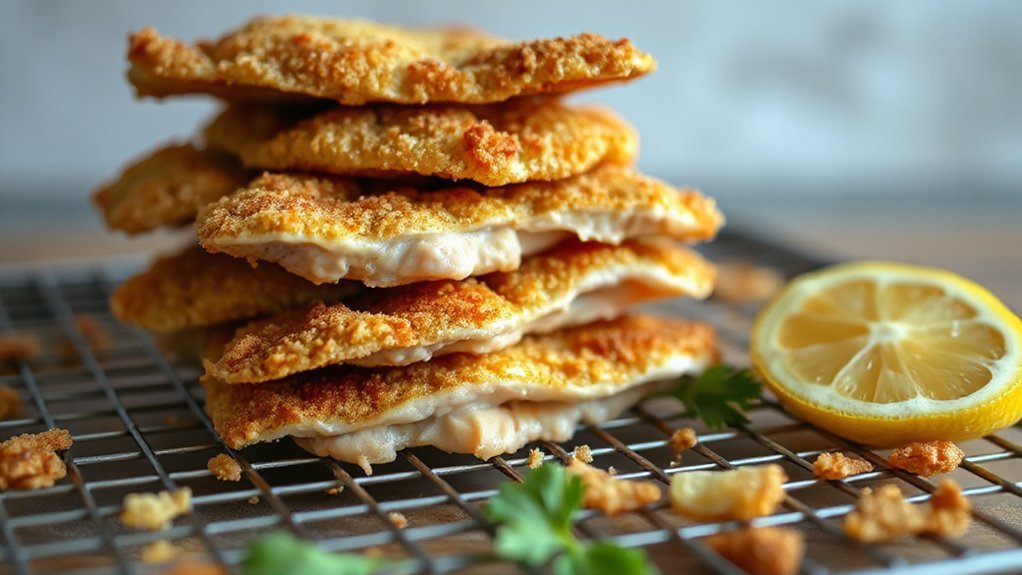
Because these cutlets are thin, breaded, and cooked in circulating hot air, you get a crisp exterior and a juicy interior without deep-frying. You’ll notice the Maillard reaction kicks in quickly on the thin surface, delivering that toasty, savory crust you want. The light breading browns evenly in the air fryer, so you don’t need excess oil to mimic deep-fried results. Because the cutlets are thin, they cook fast, which helps with moisture retention — the center stays tender instead of drying out. You’ll flip once or shake the basket to promote even browning and consistent airflow. This method saves time and reduces fat while keeping texture excellent. It’s practical for weeknights: you’ll get dinner on the table in about twelve minutes, and cleanup stays easy. Follow simple timing and doneness checks, and you’ll repeat this foolproof technique whenever you want a crispy, juicy chicken cutlet every time.
Ingredients You’ll Need
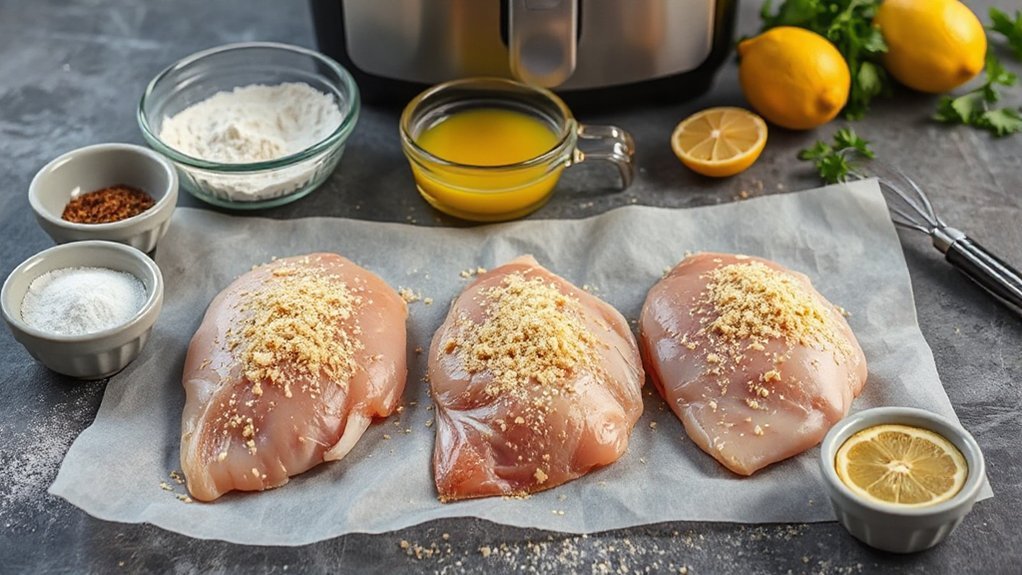
You’ll need boneless thin chicken cutlets plus staple pantry items—flour, eggs, and breadcrumbs—for the coating. Keep a little olive oil or cooking spray on hand to help them crisp in the air fryer. Seasonings like salt, pepper, garlic powder, paprika, and grated Parmesan (plus a pinch of dried herbs) bring the flavor.
Main Ingredients
For crisp, golden air fryer chicken cutlets, gather boneless skinless chicken breasts (or thin-cut cutlets), all-purpose flour, beaten eggs, panko breadcrumbs, grated Parmesan, salt, pepper, garlic powder, paprika, and a neutral oil spray; add lemon and fresh parsley if you want a bright finish. Pick chicken from trusted sources — local sourcing is great for freshness and flavor. Choose thin-cut breasts or pound thicker pieces to uniform thickness so they cook evenly in 12 minutes. Use everyday pantry staples for the coating and a light spray for crisping without excess oil. If you track calories, do a quick nutrition breakdown per serving to keep this dinner both fast and mindful. You’ll have a simple, reliable lineup ready to go and dinner’s on the table quickly.
Seasonings & Coatings
When you’re getting the cutlets ready, keep the seasoning simple but bold: all-purpose flour for the first dredge, beaten eggs to help everything stick, and panko mixed with grated Parmesan for a light, crisp crust. Add kosher salt, freshly ground black pepper, and a pinch of smoked paprika for warmth. For extra zip, fold in lemon zest and a little garlic powder. Use spice layering—season flour, egg, and panko—to build flavor in every bite. For acidity balancing, squeeze fresh lemon over finished cutlets or toss a tiny splash of vinegar into the egg wash to brighten the interior. Keep measurements modest so the chicken sings; too much overwhelms the delicate crunch you worked for. Serve immediately and enjoy the crisp, savory result every time.
Prep and Pound the Chicken

Start by trimming any fat and tendons, then butterfly thicker breasts to create evenly sized pieces. Lay each piece between plastic wrap and gently pound with a meat mallet or rolling pin until they’re about 1/4–1/2 inch thick. That way you’ll get quick, uniform cooking in the air fryer and juicy cutlets every time.
Trim and Butterfly
Before breading, trim any visible fat, tendon, or silver skin and butterfly thick breasts so they’ll cook evenly; you can slice horizontally through the center to open them like a book or cut them into two thinner pieces. Use a sharp knife and basic knife maintenance—keep the edge honed so you make clean, safe cuts that preserve texture. Work on a stable board, steady the breast with your hand tucked, and slice confidently to avoid ragged edges. Wipe the board and knife between pieces and follow strict sanitation practices to prevent cross-contamination. If a small tendon or flap remains, remove it now; it’ll make breading neater. This quick prep keeps your cutlets uniform and ready for the coating step and speed up cooking time.
Pound for Even Thickness
Pounding the cutlets evens their thickness so they cook uniformly and stay juicy, and you’ll do it with a light, controlled hand. Place each butterflied breast between plastic and tap with a flat meat mallet or rolling pin until about 1/4 inch. Use light, even strikes; you’ll feel when it gives. Keep tool maintenance simple: wash and dry immediately. Good kitchen ergonomics matter—stance, wrist alignment, and a stable surface prevent strain. Pat the cutlets dry, season, and breadcrumb as directed. These thin pieces crisp fast in the air fryer, so uniform thickness is your shortcut to juicy interior and golden edges.
| Feeling | Image |
|---|---|
| Calm | A steady rhythm |
| Confident | Perfectly even cutlets |
| Proud | Dinner ready in minutes |
| Relieved | Quick, tasty results |
You’ll love it daily.
Breadcrumb Coating and Seasoning
Coating your cutlets in a crunchy, well-seasoned breadcrumb mix will make the air-fried result sing. Start with panko for big flakes and toss in a bit of finely ground stale bread for adhesion. Season the crumbs with salt, pepper, garlic powder, and a little smoked paprika; add grated Parmesan for savory depth. Use an egg wash or a mixture of mustard and yogurt to help crumbs stick without sogginess. Press the crumbs onto each cutlet so you build an even layer — that gives you reliable texture contrast and helps crisp retention during cooking. For extra crunch, fold in a handful of crushed cornflakes or pretzel crumbs. Let coated cutlets rest on rack for 5 minutes to set the coating before you cook. Work in batches to avoid crowding, and keep leftover crumb mix covered; it’s great for a quick batch or as a topping for roasted veggies.
Air Fryer Settings and Timing
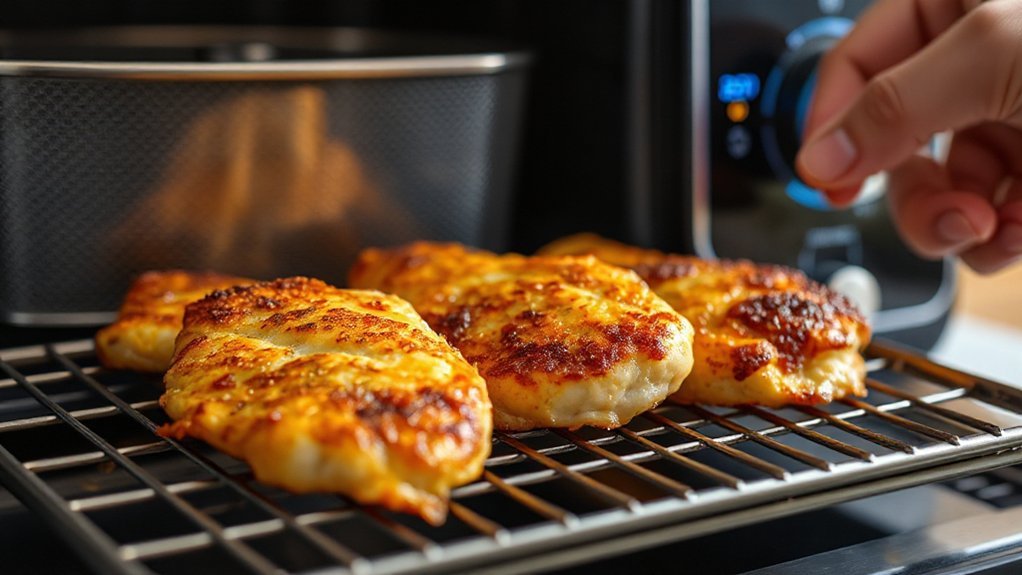
Usually set your air fryer to 380–400°F and plan for about 8–12 minutes, flipping once halfway through; thinner cutlets need the lower end of that range, thicker or breaded pieces the higher. You’ll want to confirm doneness with an instant-read thermometer and factor in your model’s quirks. Temperature calibration matters—if your fryer runs hot, shave a minute or two; if it’s cool, add time in small increments. Keep Flip timing consistent: turn at the midpoint to promote even browning and crisping without tearing the coating.
- Preheat 3 minutes for stable heat.
- Arrange cutlets single layer, no overlap.
- Check internal temperature at 165°F.
- Rest 2 minutes before cutting.
Use a light spray of oil for extra crunch and avoid overcrowding. With these settings and attention to temperature calibration and Flip timing, you’ll get reliably crisp, juicy cutlets fast. Adjust slightly for altitude and ingredient variability.
Serving Suggestions and Sauces
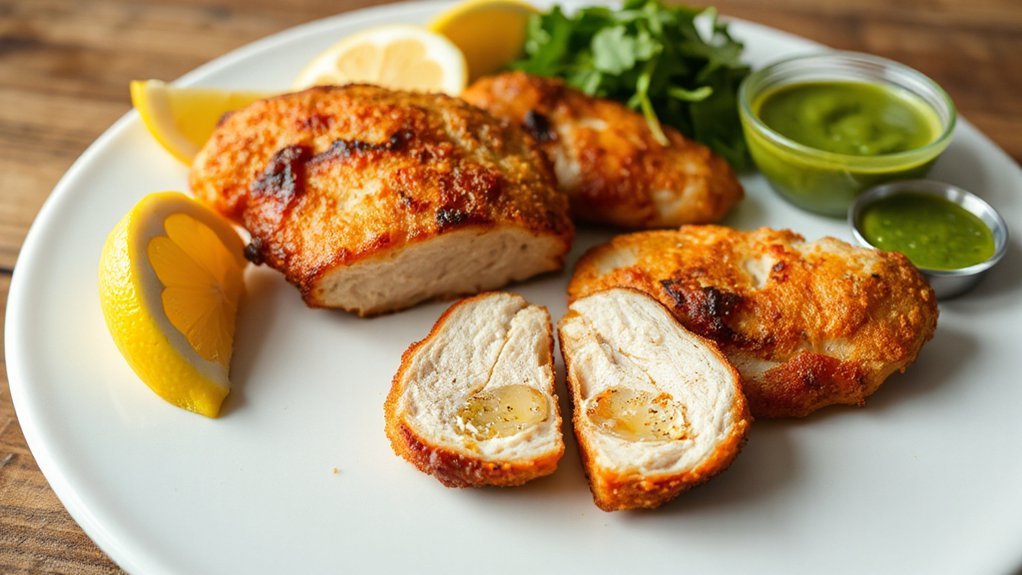
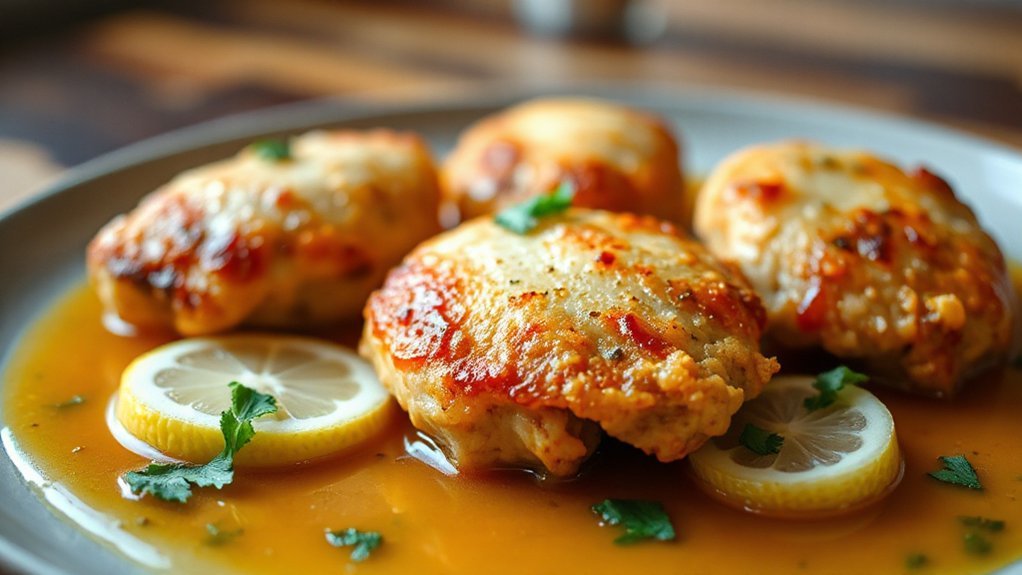
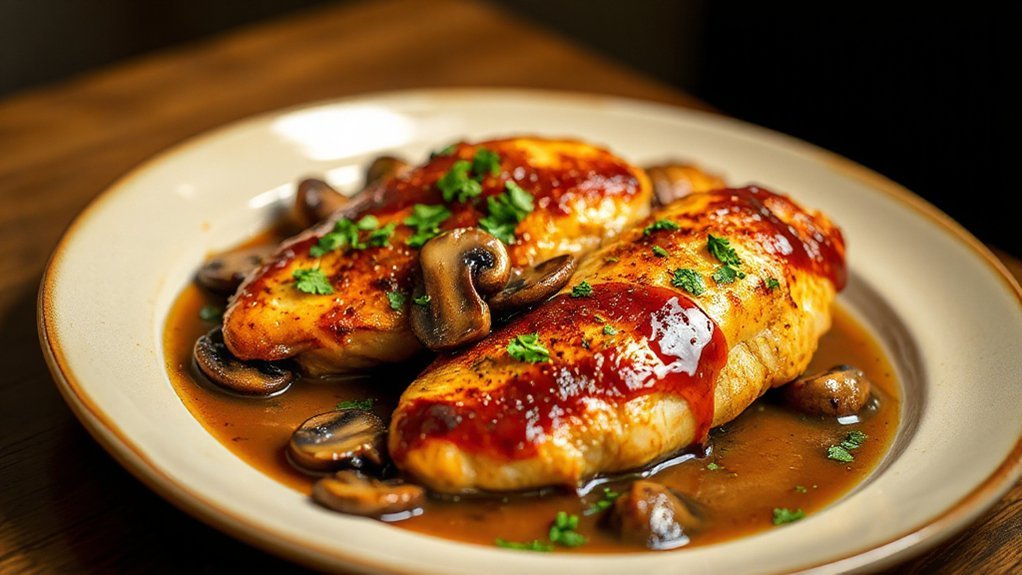
When you’re ready to serve, pair your air fryer cutlets with simple sides and a sauce that complements their crunch—think a bright lemon-butter or chimichurri for lighter fare, marinara and Parmesan for a classic chicken parmesan twist, or honey-mustard and ranch for dipping. Keep portions balanced: a handful of crisp Side Salads—arugula with lemon, cucumber-tomato, or shaved fennel—cuts richness and adds color. For starch, roasted potatoes, herbed couscous, or garlic bread work fast and satisfy. If you’re entertaining, offer three sauces in small bowls so guests choose: tangy vinaigrette, creamy aioli, and spicy sriracha mayo. Mention Wine Pairings when you menu-plan: a zesty Sauvignon Blanc or light Pinot Noir pairs nicely depending on sauce choice. Finish with a squeeze of lemon, fresh herbs, and grated cheese for a restaurant touch. You’ll serve a crowd-pleasing meal that’s easy, flexible, and bursting with texture. Enjoy now with family and friends.
Make-Ahead, Storage, and Reheating Tips
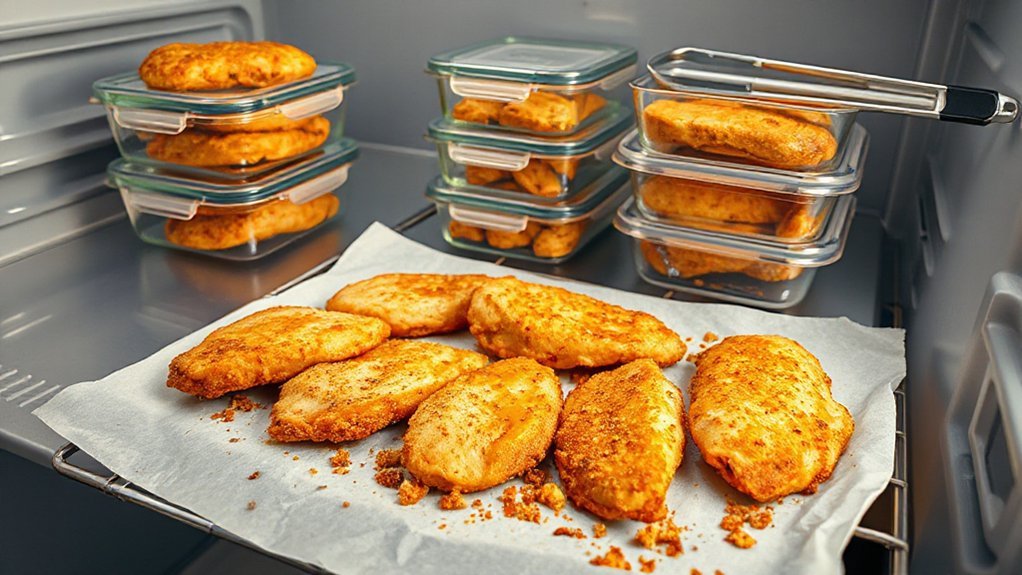
If you’re prepping cutlets ahead, cool them completely on a rack so steam doesn’t make the crust soggy, then pack them airtight with a paper towel to absorb any excess moisture. For short-term fridge storage, layer cutlets between parchment and refrigerate up to 3 days. For longer storage, flash-cool, then use vacuum sealing or heavy-duty zip bags with freezer labeling and freeze up to 3 months. When reheating, aim to restore crispness without drying the meat.
- Reheat at 375°F in the air fryer for 4–6 minutes, flipping once.
- For many pieces, thaw overnight in the fridge before reheating.
- If using the oven, heat at 400°F on a wire rack for 8–10 minutes.
- Microwave only for a last-minute fix; finish in the air fryer 1–2 minutes to crisp.
Always check internal temperature reaches 165°F. Cool leftovers quickly, label dates, and rotate stock for peak freshness.
Conclusion
You’ll have dinner on the table in 12 minutes, like conjuring a spell from a beloved kitchen fable. You pound, bread, and air-fry, and you’ll get thin, crispy cutlets that golden like sunrise. They’re practical enough for weeknights, fancy enough for last-minute guests. You’ll mix sauces, pile salads, and store leftovers knowing they’ll reheat beautifully. Keep this method in your repertoire, and you’ll always have a fast, impressive meal ready to go any weeknight, too.