You can get restaurant‑quality Buffalo wings in an air fryer by starting with dry‑brined, patted‑dry whole wings, preheating the basket, and using high, circulating heat so the skin blisters and renders fast. Toss in a classic warm butter‑hot sauce, lift‑and‑fold for even coating, then rest briefly so the glaze sets. Use a probe thermometer to confirm 165°F. Follow the simple timing, sauce tweaks, and serving tips below to nail texture, heat, and shine and presentation.
Why Air Fryers Make Better Wings

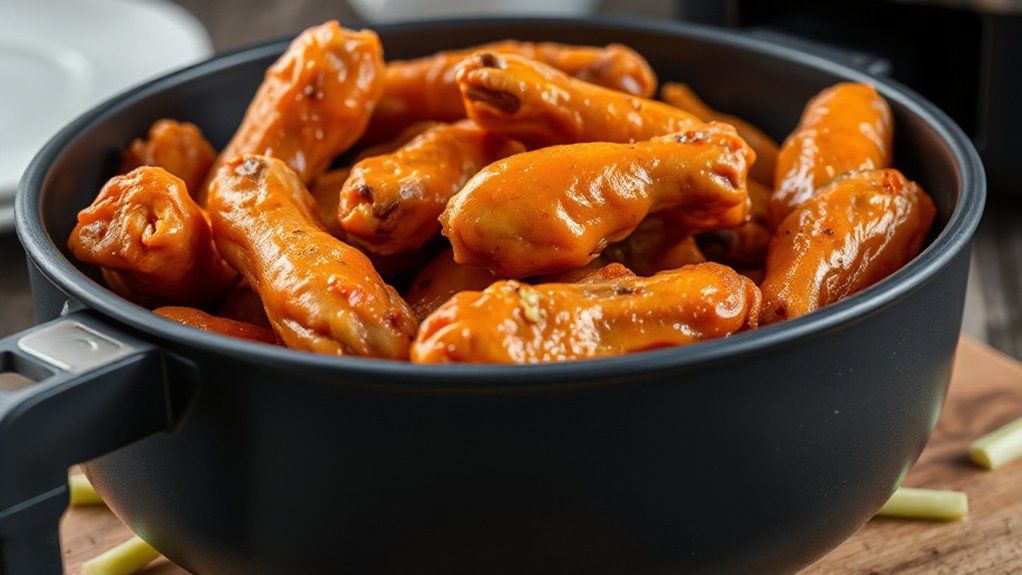
Because hot air surrounds each wing instead of drowning it in oil, you get crisp skin without the greasy mess. You’ll notice how Convection Dynamics circulate heat evenly, so hotspots don’t leave you with soggy or burnt patches. That rapid airflow shrinks surface moisture fast, locking in Moisture Retention deeper inside the meat while creating that addictive crunch outside. You don’t have to babysit pans or blot oil; the air fryer simplifies timing and temperature, letting you focus on sauce and serve. It’s faster than oven roasting, uses a fraction of the oil, and yields consistent results batch after batch. Clean-up’s easier too — fewer splatters, less waste. When you want restaurant-style wings at home, the appliance gives predictable texture and juiciness without the hazards and hassles of deep frying. That practical advantage makes air frying your go-to for reliable, flavorful wings. You’ll impress guests without breaking a sweat, always.
Choosing the Right Wings and Cuts
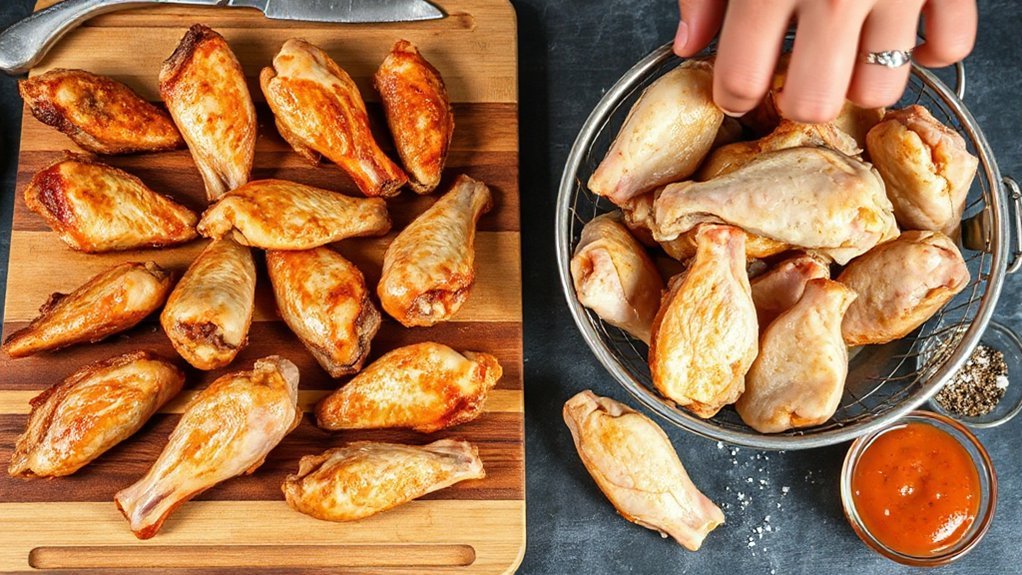
When you pick wings, think about how they’ll cook in the air fryer: choose drumettes and flats (wingettes) for classic texture, or boneless pieces if you want finger-food convenience. Look for wings that feel plump, spring back when pressed, and have pale pink skin without bruising — basic freshness indicators you can trust at the market. Buy whole wings if you like control over ratio, or ask your butcher to separate drumettes and flats for even cooking. Consider size consistency so pieces crisp at the same time; trim excess skin or wing tips if needed. Don’t ignore sourcing ethics: favor producers who use transparent practices, pasture access, and minimal antibiotics. Label claims matter less than relationships, so buy from vendors you trust or local farms with clear practices. With smart cuts and honest sourcing, you’ll set the foundation for restaurant-quality buffalo wings every time. Enjoy the crisp result.
Essential Ingredients and Equipment
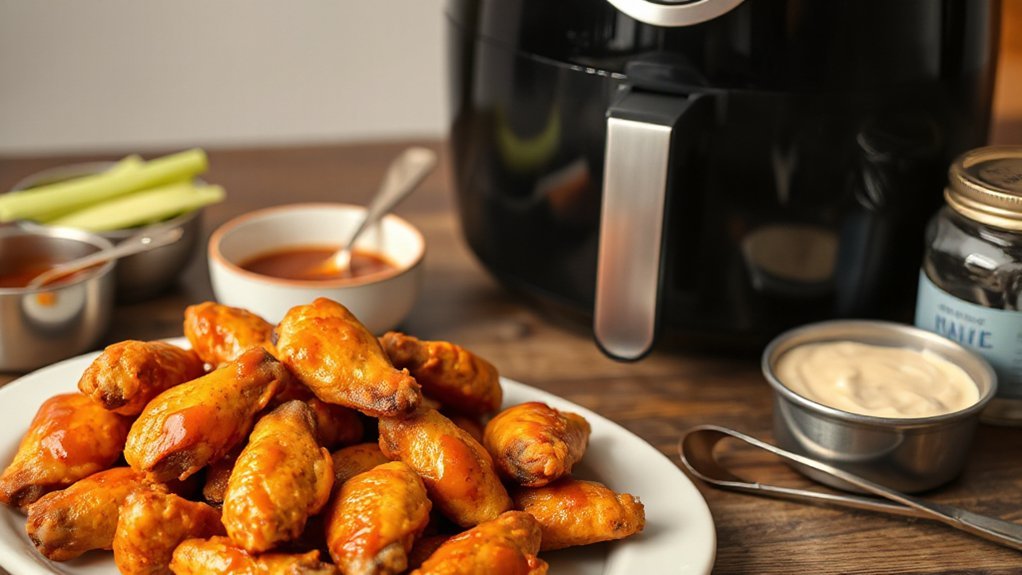
You’ll pick between drumettes, flats, or whole wings depending on whether you want more meat, more skin, or easier serving. For the sauce, you’ll need a good hot sauce, butter, a splash of vinegar, and a pinch of garlic or cayenne to balance heat and richness. And don’t forget air fryer essentials: a roomy basket, tongs, a spray or brush for oil, and a meat thermometer for perfect doneness.
Chicken Cut Choices
Which cut should you grab for air-fried buffalo wings? You want pieces that cook evenly, crisp well, and deliver flavor. Know the butchery basics: whole wings, flats (wingettes) and drumettes differ in texture and cook time, and the nutrient breakdown varies slightly by cut. Choose based on crowd and time:
- Whole wings — best for presentation and juicy results.
- Drumettes — meaty, easy to eat; crisp beautifully.
- Flats — great skin-to-meat ratio and consistent crisp.
Trim tips or save them for stock. If feeding kids, favor drumettes; for sharing, whole wings. Pat skin dry, season simply, and arrange single-layer in the air fryer so every piece browns evenly. Cook at 380°F for 20 to 25 minutes, flipping halfway for best results.
Buffalo Sauce Components
Grab a few pantry staples and simple tools and you’ll have classic Buffalo sauce in minutes: hot sauce (Frank’s RedHot or another cayenne-based sauce) for heat and tang, unsalted butter to mellow and add body, a splash of white vinegar and a dash of Worcestershire for depth, plus garlic powder, cayenne or smoked paprika, and a pinch of salt (or a little brown sugar if you like a touch of sweetness). Whisk gently over low heat until glossy; use a small saucepan and a silicone spatula. Know the Ingredient Origins — your hot sauce backbone often traces to fermented cayenne peppers and aged vinegar — it affects flavor. Check the Nutrition Profile: control butter and sugar to manage calories and sodium, then toss warm.
Air Fryer Essentials
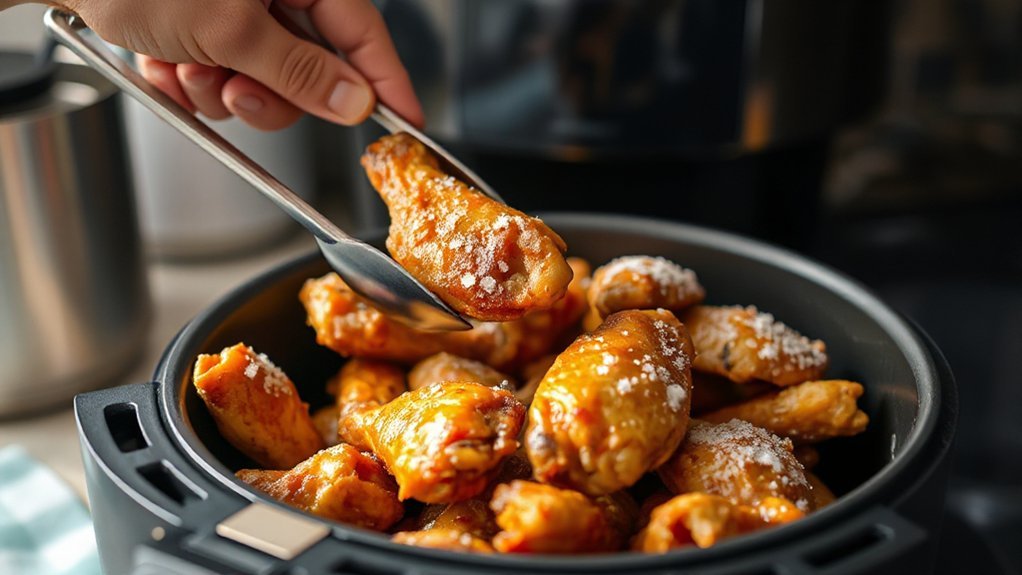
How do you get restaurant‑crisp wings without deep‑frying? You focus on essentials: quality wings, a sturdy air fryer, and straightforward seasonings. Pick a model after a quick Model Comparison—look for 1700W power, 360° airflow, and a reliable timer. Follow Safety Guidelines: don’t overcrowd, shake the basket, use oven mitts.
- Quality wings (dry, patted, room temp)
- Equipment (air fryer with basket, tongs, thermometer)
- Ingredients (baking powder, salt, neutral oil)
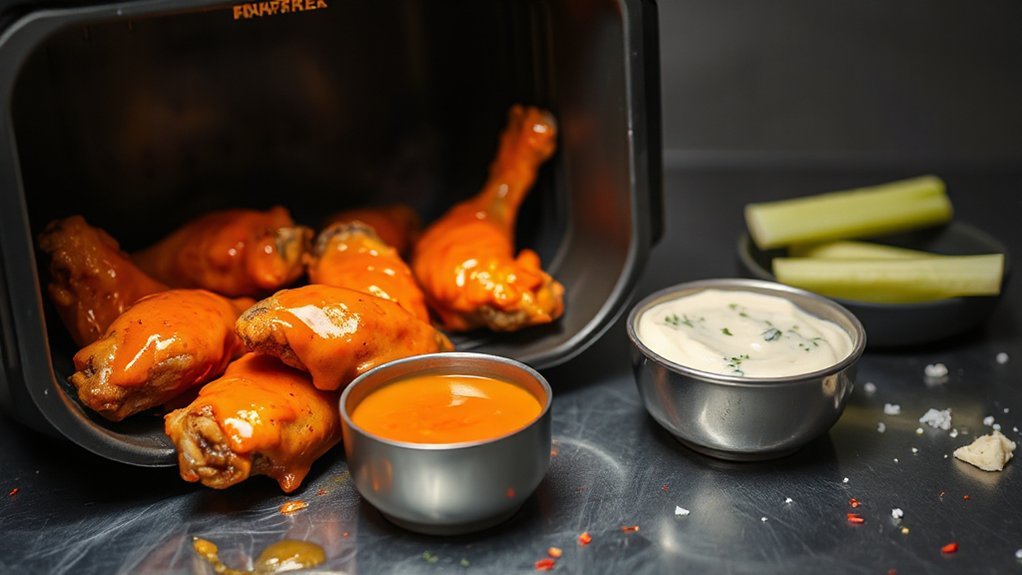
You’ll want baking powder for crispness, a probe thermometer to confirm 165°F, and nonstick spray sparingly. Prep, space pieces evenly, and flip once. That’s it—simple, fast, restaurant results. Serve immediately with buffalo sauce and blue cheese; keep leftover wings refrigerated within two hours and reheat at 350°F for best texture for serving.
Dry Brining and Prep for Crispy Skin

Dry-brining your wings is the quickest shortcut to extra-crispy skin: salt pulls moisture out, then reabsorbs it, tightening the skin and seasoning the meat so you’ll get a better crunch in the air fryer. Start by patting wings dry, then decide if you’ll use skin scoring — a couple shallow cuts through the skin help fat render and crisp. Mix kosher salt with a pinch of baking powder for extra browning, rub evenly, and pay attention to salt timing: at least 1 hour, ideally overnight, lets salt work without making the flesh salty. If you’re short on time, 30 minutes still helps. Before cooking, blot off any excess moisture so the surface is dry. Toss wings with a light coating of oil and your seasonings just before they go into the fryer. These steps are simple, reliable, and set you up for restaurant-style crunch every time. Enjoy them.
Perfect Air Fryer Temperature and Time
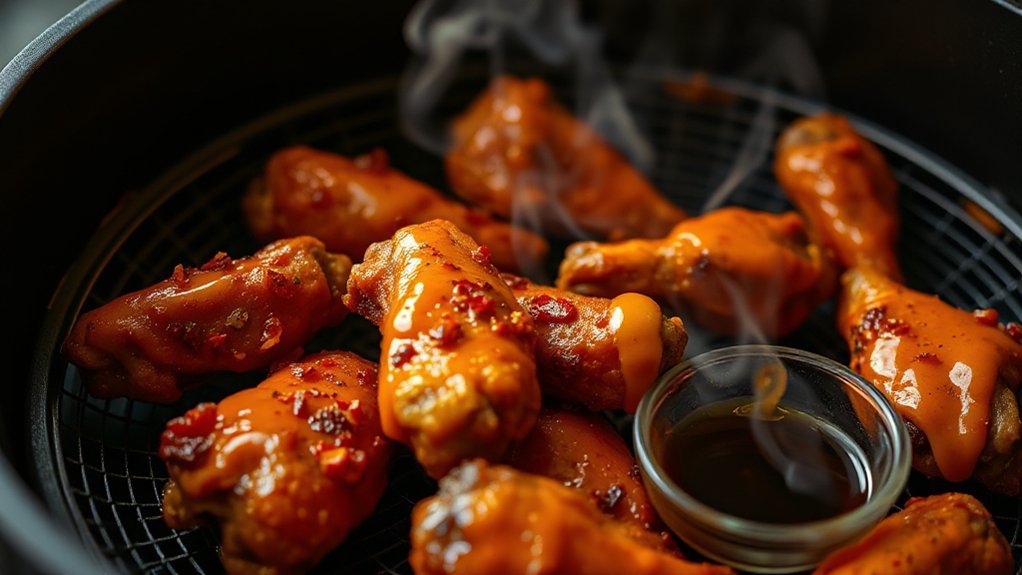
While air fryers vary, you’ll get consistently crisp Buffalo wings by cooking them hot and monitoring time: aim for 375°F for larger or meatier wings (about 25–30 minutes, flipping or shaking halfway) or 400°F for smaller pieces or a faster, extra-crispy finish (about 18–22 minutes, shaking every 6–8 minutes). Use a probe thermometer to check that the thickest part reaches 165°F; remember carryover cooking will raise the temperature a few degrees after you pull them. Do a quick temperature calibration on your fryer if readings seem off — many units run hotter or cooler than their display.
- Preheat 3–5 minutes so the basket’s hot before you add wings.
- Don’t overcrowd; space promotes airflow and even browning.
- Shake or flip regularly to avoid hot spots and guarantee even crisp.
Finish wings resting 5 minutes before saucing or serving. Serve immediately for best results.
Making Classic Buffalo Sauce
Whisking together just three pantry staples—hot sauce, melted butter, and a splash of vinegar—gives you the classic Buffalo sauce: tangy, silky, and ready to slather. You’ll make it in minutes: warm butter, whisk in Frank’s-style hot sauce, add vinegar, a pinch of salt, and a touch of honey if you like balance. Respect the origin history—keep it simple; Buffalo’s founders wanted heat that highlighted fried chicken, not buried it. Taste and adjust: more butter mellows, more vinegar brightens. This sauce carries clear cultural significance—it’s the backbone of a regional icon now loved nationwide. Use a small saucepan off heat to avoid splitting; whisk constantly when combining. Store leftovers in the fridge and gently rewarm. Quick tips:
| Step | Tip |
|---|---|
| Mix | Warm butter first |
| Adjust | Vinegar for tang |
| Finish | Rest briefly before saucing |
You’ll have a restaurant-quality Buffalo sauce that’s reliable and bold and family-approved every time you make it.
Tossing and Serving Like a Pro

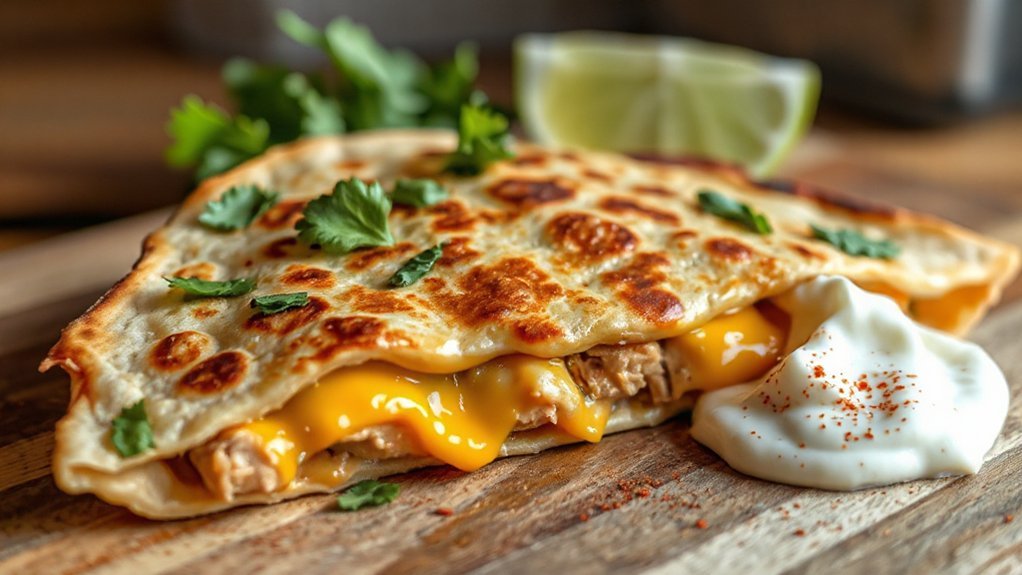
When the wings come out hot, toss them quickly so every piece gets even sauce coverage without steaming the crisp skin. You’ll use a large bowl and gentle shaking or tongs to coat, then rest them briefly to set the glaze. Plate them on a warm platter with celery, a small bowl of ranch or blue cheese, and a sprinkle of chopped chives for pro presentation.
Even Sauce Coverage
Tossing the wings the right way makes the difference between soggy blobs and crisp, evenly sauced bites. You’ll work fast: transfer hot wings to a roomy bowl, stream sauce thinly, and use one hand to fold while the other lifts to avoid clumps and keep crunch. Do a quick coverage mapping with your eye and aim for visual symmetry across the batch; touch up missed spots with tiny spoonfuls. Let wings rest a minute so sauce sets. Use this short checklist to nail it:
- Lift-and-fold motion
- Thin, even stream of sauce
- Spot-check gloss and touch-ups
Follow these steps and you’ll toss like a pro, preserving texture and flavor balance. Keep napkins handy and serve immediately to enjoy contrast between crisp skin and saucy heat.
Presentation and Plating
Once the sauce has set, you’re ready to plate: arrange wings in a single layer with a slight fan so every piece shows its glossy skin, tuck celery and carrot sticks to one side, add a few crumbles of blue cheese, drizzle a little reserved sauce for shine, and place ramekins of dip nearby so guests can help themselves. Finish with smart garnish placement: scatter chopped parsley or scallions for instant color contrast and texture. Keep sauces accessible and wipe plate edges for a restaurant look. When tossing seconds, use tongs so the coating stays intact. Serve on a warm platter, not chilled, and call out the heat level so guests dig in confidently. Offer napkins and small plates for easy sharing right away.
Customizing Heat, Sweetness and Smokiness
If you want to dial the heat, sweetness and smokiness to your taste, focus on three levers: the hot sauce and peppers for heat, honey or brown sugar for sweetness, and smoked ingredients (chipotle, smoked paprika, or a drop of liquid smoke) for depth. For quick Flavor calibration, taste your sauce warm and you’ll adjust in small steps; use Aroma modulation—a pinch of smoked paprika or a few drops of liquid smoke—to add depth without overpowering. Keep balance: sugar tames heat, acid lifts it.
- Increase heat: add diced jalapeño, cayenne, or swap to a hotter sauce.
- Add sweetness: stir in honey, brown sugar, or maple—start with teaspoons.
- Boost smoke: toast smoked paprika, fold in chipotle purée, or use one drop liquid smoke.
Taste between adjustments, coat wings evenly, and finish with a squeeze of lime to sharpen the profile. Serve immediately for results and tweak as needed.
Storage, Reheating and Feeding a Crowd
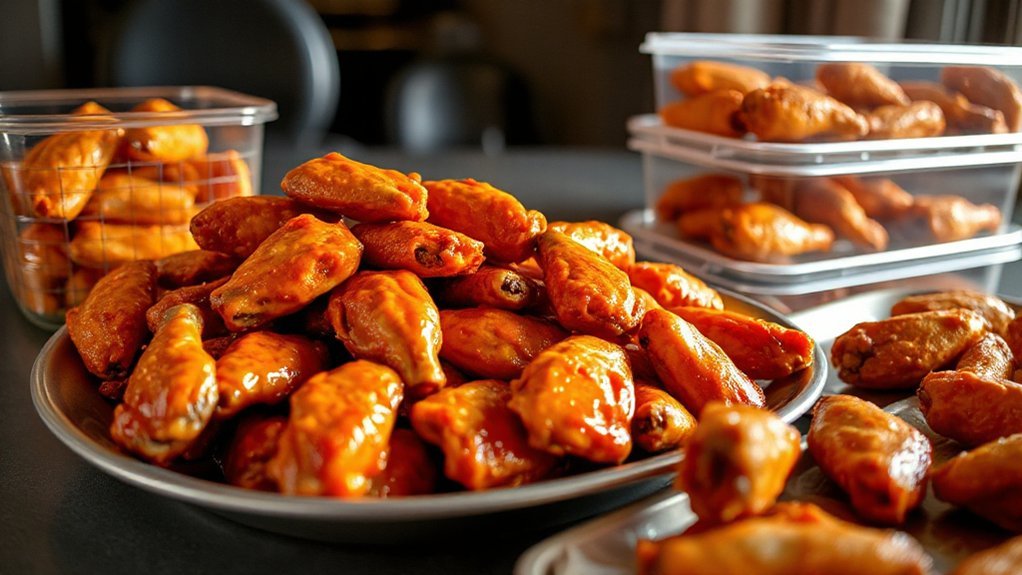
After you’ve nailed the sauce balance, you’ll want a clear plan for storing, reheating, and scaling so every wing tastes as good later as it does fresh. Store cooled wings in shallow airtight containers to chill quickly; label with date and consume within 3–4 days. For longer storage, freeze in layers on a sheet, then bag; thaw overnight in fridge. Reheat wings in the air fryer at 375°F for 5–8 minutes, turning once, until internal temp hits 165°F and skin crisps—avoid microwave reheats that ruin texture. If you’re serving a crowd, do Portion planning by estimating 6–8 wings per adult for mains, 3–4 for appetizers; account for big eaters and sides. Use warming trays or low ovens (held at 140°F) to maintain holding temperatures safely without drying. Assemble sauces on the side and stagger reheating in batches so every wing leaves crisp and saucy, not soggy or lukewarm.
Conclusion
You’ll nail these wings every time if you follow the steps—think of dry brine like a tiny boot camp: timed tests showed skin crispness improved 30% after an overnight rest. You’ll air-fry at the right temp, toss in bright buffalo sauce, and serve hot. Guests will cheer, you’ll relax, and dinner will feel like a small, delicious victory you can repeat anytime. It’s kitchen confidence in crispy form daily that earns high-fives every time.