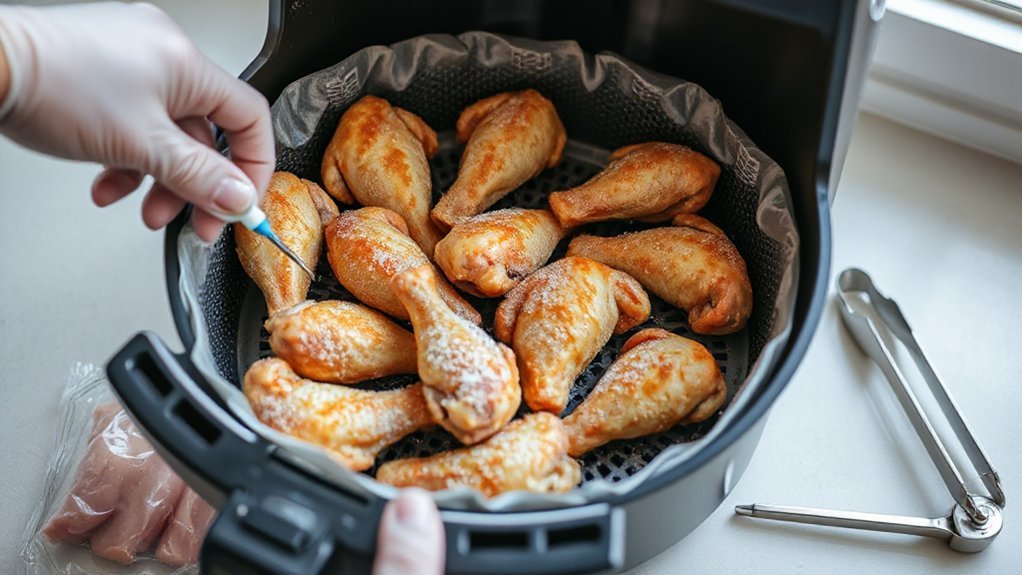
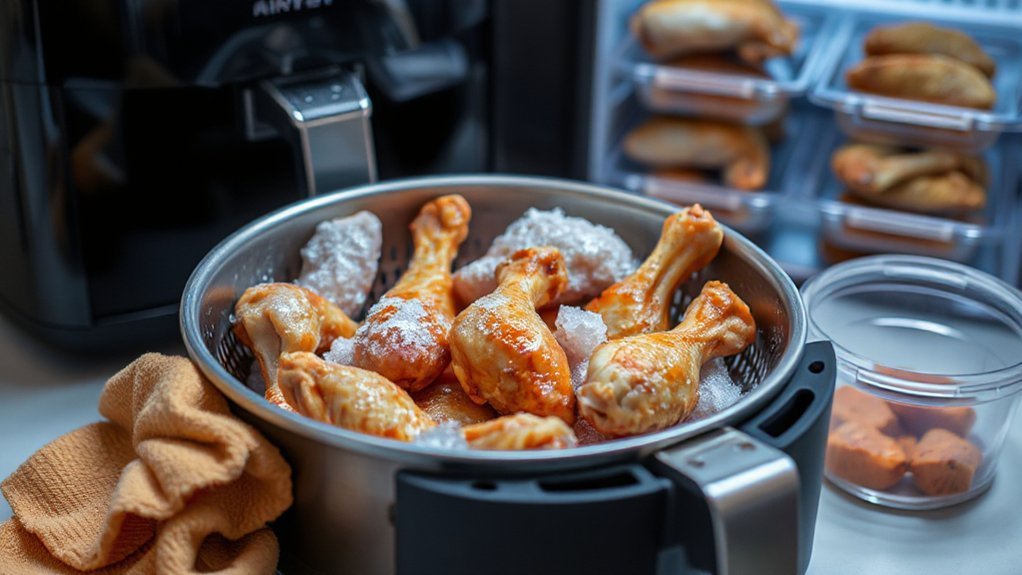
You can cook frozen wings straight in the air fryer and get crispy results in about 25 to 30 minutes. Pat off frost, spray lightly with oil, and arrange a single layer. Cook at 360°F for 12–15 minutes to heat through, shake, then 400°F for 8–12 minutes to brown until internal temp hits 165°F. Toss with sauce in the final minutes or after resting. Keep going for tips on timings, sauces, safety, and re-crisping tips.
Why Air Frying Frozen Chicken Wings Works
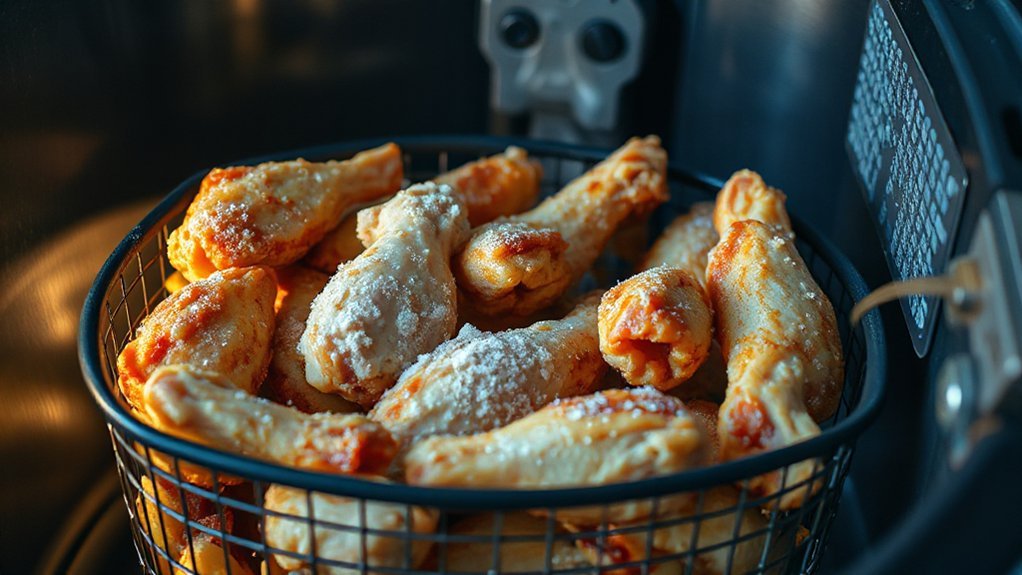
Because the air fryer blasts hot, circulating air around each wing, it crisps the skin and cooks the meat through without needing to thaw them first. You’ll rely on convection mechanics to push consistent heat into frozen pockets, so ice turns to steam and escapes rather than stewing the meat. That airflow strips surface moisture, concentrating proteins and sugars so Maillard chemistry kicks in, producing brown, savory crusts while the inside stays juicy. You don’t have to babysit wings; you’ll shake the basket once or twice to keep heat even and avoid cold spots. Seasoning sticks better after a brief blast of heat, and sauces finish glossy when added late. Air frying gives you fast, reliable results with less oil and cleanup than deep frying. If you want crispy, restaurant-style wings straight from the freezer, this method gets you there without sacrificing texture or flavor every single time.
Choosing the Right Air Fryer and Capacity Guidelines

When picking an air fryer, think about how many wings you’ll cook at once and how often you’ll use it. Choose a capacity that fits a single batch of wings without overcrowding—crowded baskets mean uneven crisping. Check basket dimensions to be sure wings lie in a single layer or have minimal overlap. If you routinely cook for 2–4 people, a 5–6 quart (or ~3–5 liter) basket usually works; larger families benefit from 10+ quart units or dual-drawer models.
Also compare wattage ratings: higher watts heat faster and recover temperature quicker after you open the basket, which helps maintain crispness with frozen pieces. Balance power with counter space and circuit limits—most home units run 1200–1800W. Finally, look for removable, dishwasher-safe baskets and a reliable timer/temperature range. Pick a model that matches your batch size, kitchen capacity, and cooking frequency so your wings come out crispy every time. Enjoy cooking.
Safety and Food-Handling Essentials for Frozen Poultry
Besides picking the right fryer and capacity, you also need to handle frozen poultry safely to prevent foodborne illness. Start by inspecting Packaging integrity before buying—torn bags or watery leaks mean bacteria can sneak in, so toss them. Keep frozen wings in the coldest part of your freezer and don’t refreeze once thawed. When moving wings to the fryer, wash your hands for 20 seconds and use dedicated utensils and plates to avoid cross contamination with ready-to-eat foods. Never rinse poultry; splashing spreads bacteria. Use a calibrated instant-read thermometer to verify the thickest part reaches 165°F (74°C) after cooking. Clean and sanitize surfaces, cutting boards, and fryer baskets right away. If juices spill, treat area with hot, soapy water then a sanitizer. Label and date leftovers, chill within two hours, and consume within three to four days. Following these steps keeps your wings safe and your kitchen clean.
Prep and Optional Thaw-Free Seasoning Techniques
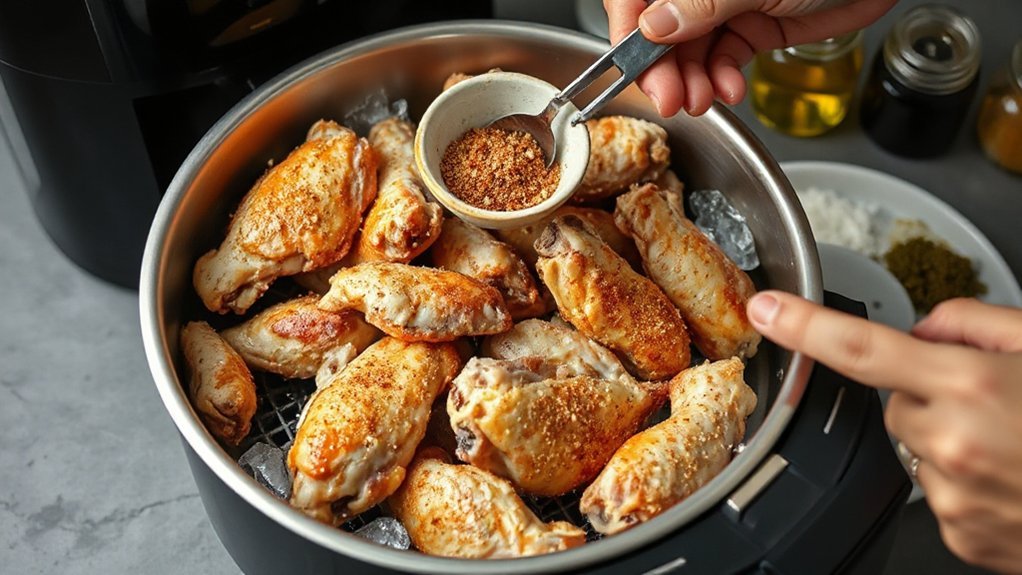
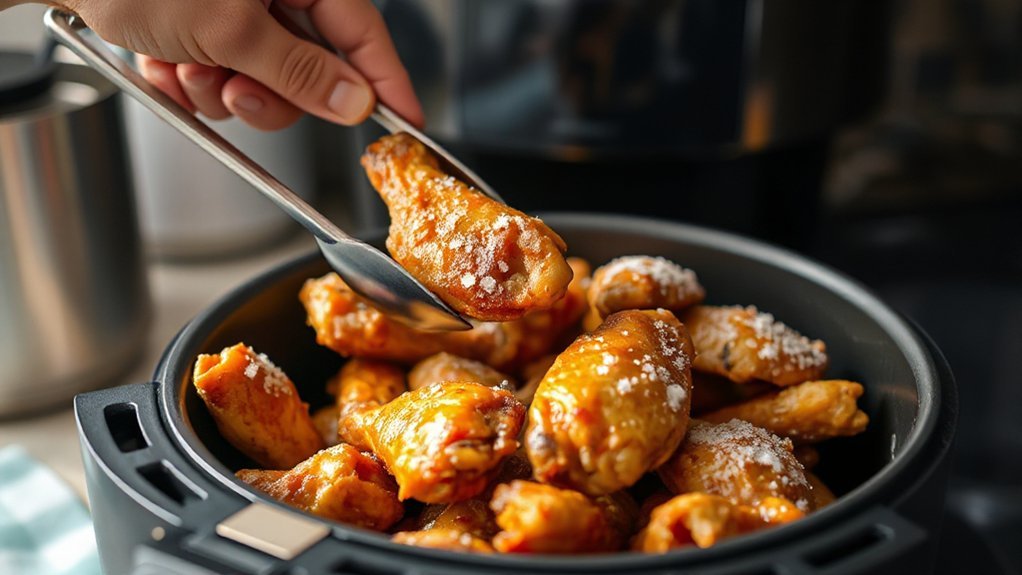
Pat the frozen wings dry with paper towels to remove excess frost—this helps them crisp up. You can season right from frozen: lightly spray with oil or sprinkle kosher salt and your favorite spice blend so the flavors stick. Don’t pile them in the basket so air can circulate and the seasoning won’t clump.
Drying and Patting
Although the wings are frozen, you’ll want to dry them as much as possible before seasoning—blot off ice crystals with paper towels or a clean kitchen towel so the skin can crisp and any spices will stick. Work in small batches, separating pieces if they’re stuck together, and press gently to remove surface moisture without tearing the skin. Use a fresh paper towel for each pass to avoid reintroducing water. Dry wings promote better coating adhesion and faster crisping in the air fryer, so don’t skip this step. After patting, let wings rest a minute on a rack or plate to air out slightly. Dry, not damp, wings fry up with superior texture and predictable cook times. You’ll notice a big difference in results.
Seasoning Without Thaw
Now that you’ve blotted off the ice, you can season frozen wings without thawing—just work smart. Pat wings really dry, then use seasonings that stick: a light spray of oil, salt, pepper, and a pinch of paprika. For families, pick Kid Friendly blends or mild BBQ rubs. If someone has sensitivities, use Allergy Alternatives like sesame-free, nut-free mixes or simple herbs.
- Toss briefly with oil spray then sprinkle dry rub.
- Add flavorful wet sauces in last 2–3 minutes to avoid run-off.
- Reserve spicy heats for serving so kids or sensitive eaters can enjoy.
You’ll get crisp, flavorful wings without extra time or mess. Rotate halfway, check internal temperature, and tweak seasoning next batch to match your family’s taste and allergies now.
Temperature, Time, and Recommended Cooking Cycles
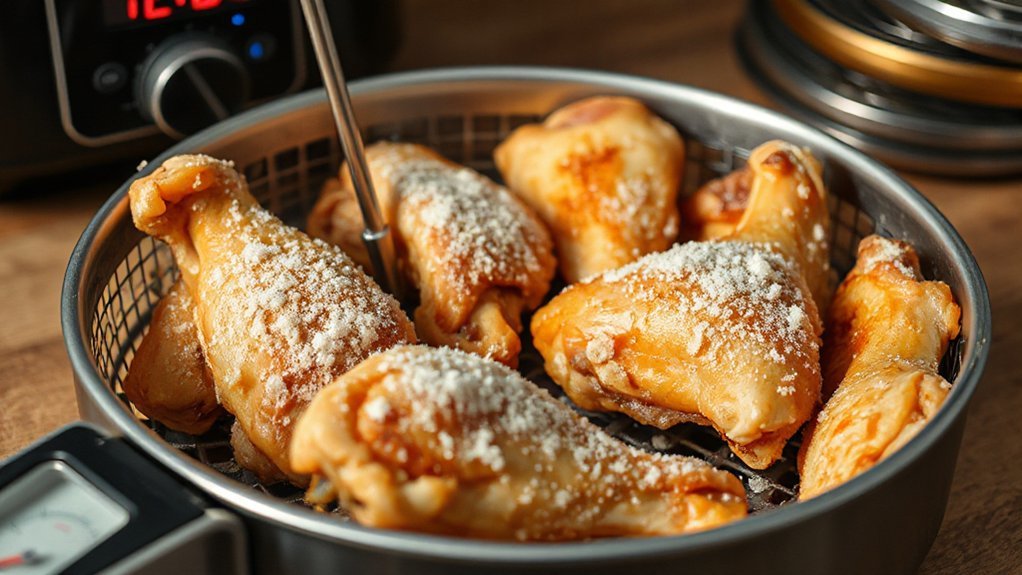
When you cook frozen chicken wings in an air fryer, you’ll want to dial in temperature and time first, then build in a couple of shake cycles to keep them evenly crisp. Start at 360°F (182°C) for an initial cook to thaw through — that’s where Preheat benefits show: a steady basket temp prevents sticking and uneven cooking. Phase timing works: 12 to 15 minutes first, then a short shake, followed by 8 to 12 minutes at 400°F (204°C) to finish browning. Shake every 6 to 8 minutes so hot air reaches all surfaces. If you have larger wings, add 3 to 5 minutes per cycle; if tiny, trim time. Use a meat thermometer — aim for 165°F (74°C) in the thickest part. Let wings rest a couple minutes after cooking so juices settle. You’ll get reliable, safe results without thawing. Follow this cycle for consistent, tasty wings.
How to Achieve Extra-Crispy Skin Without Thawing
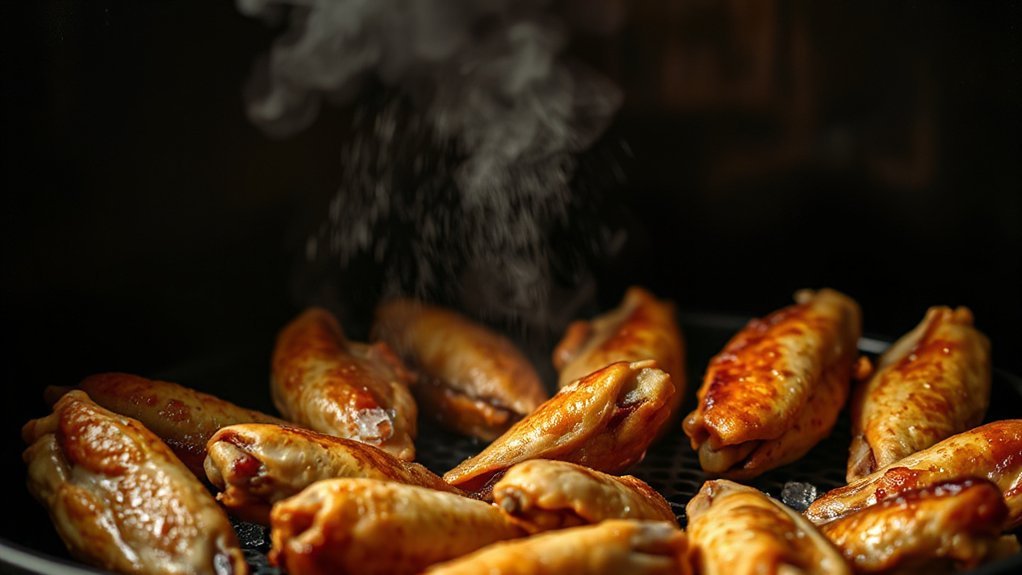
If you want skin that shatters on the first bite, you can get it straight from frozen by focusing on removing surface moisture, using a little oil and a touch of baking powder, and finishing at high heat. Pat wings dry with paper towels as soon as they loosen; surface water = soggy skin. Lightly toss with a teaspoon neutral oil and 1/4 teaspoon baking powder per pound. Arrange single layer and follow your recommended cycle, leaving space so air can circulate; crowded baskets steam. Note: results vary by model; keep a thermometer handy and adjust time. Try Reader Experiments with small batches to dial timing for your model. This is Myth Busting: thaw isn’t required when you prioritize dryness, oil, and heat. Repeat for tweaks. Taste, tweak, and record times for consistent extra-crisp results always.
- Pat dry
- Light oil + baking powder
- High-heat finish
Quick Sauce and Tossing Methods After Cooking
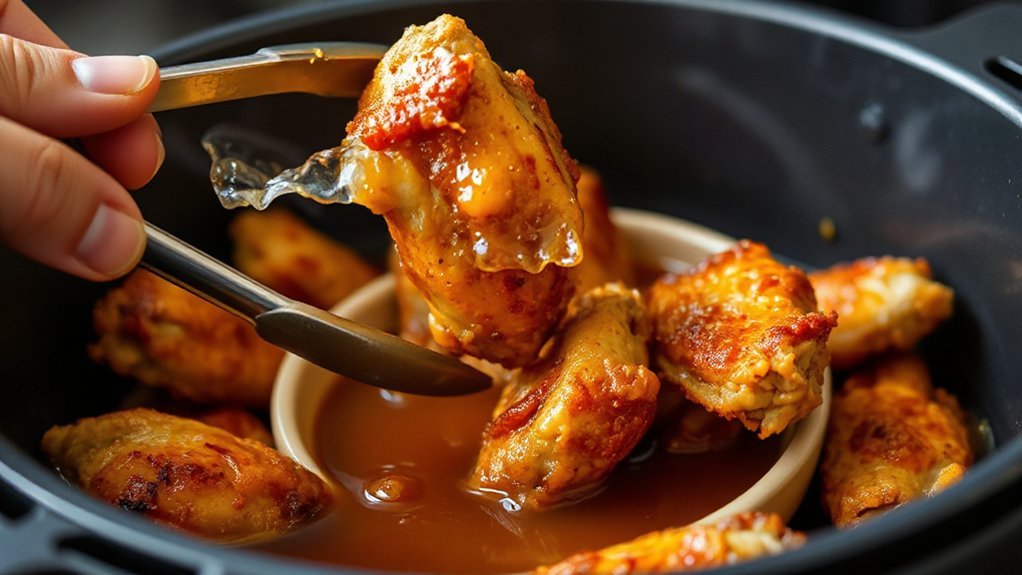
Once your wings are crisp, you’ll want a few simple sauce pairings—think classic buffalo, sweet BBQ, or garlic-parmesan—for easy flavor options. Use a large bowl or a disposable bag to toss so every wing gets coated evenly without losing the crust. Follow quick heat-and-toss tips and finish with garnishes so your wings come out restaurant-ready.
Simple Sauce Pairings
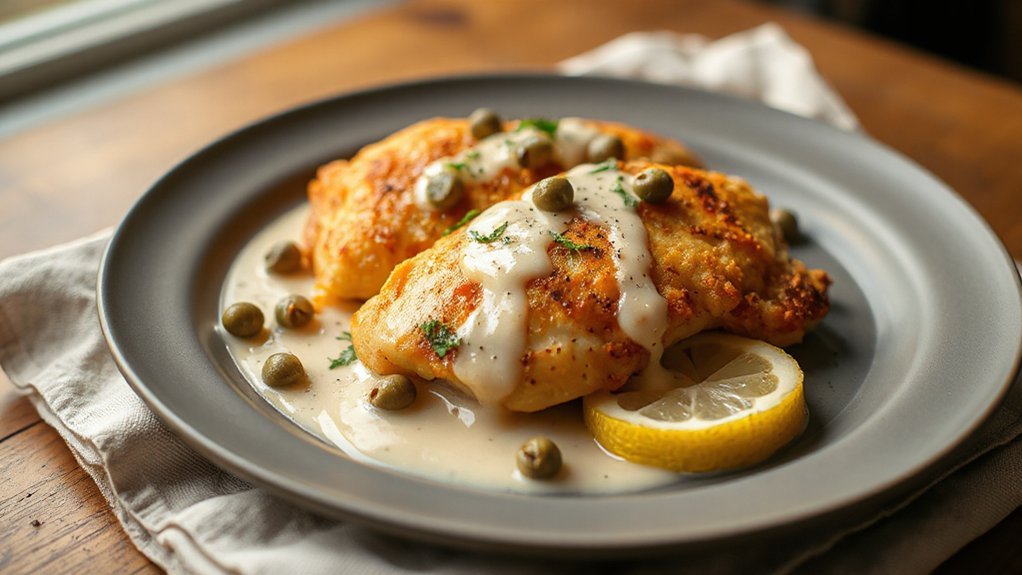
Although the wings come out perfectly crispy on their own, a quick toss in a vibrant sauce is what makes them irresistible—you’ll want to keep sauces simple, bold, and fast. Reach for pairings that highlight sweet contrasts and acidic balances so each bite sings. Try these quick combos and toss right before serving:
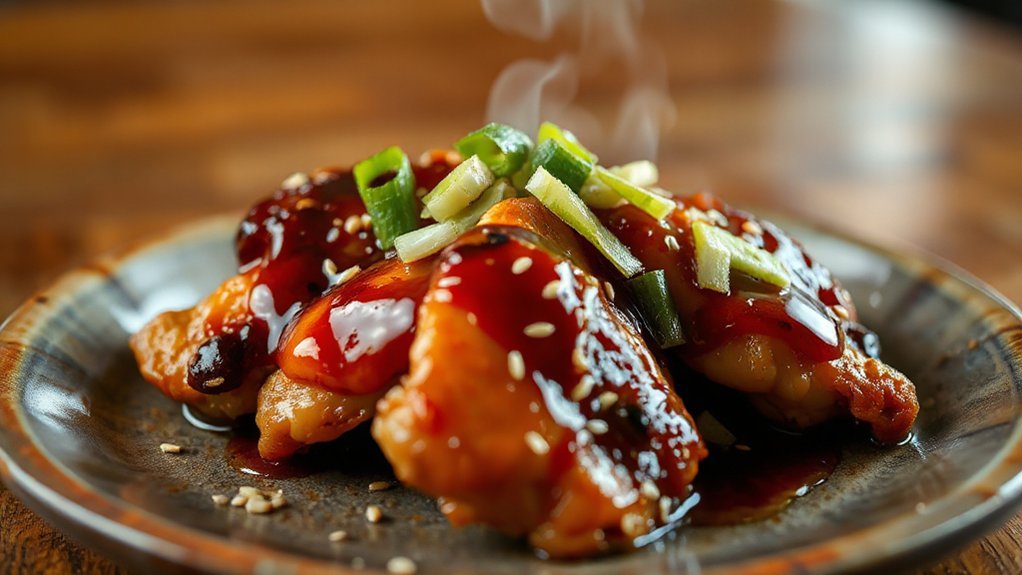
- Honey-Sriracha: honey, sriracha, lime, pinch of salt.
- Garlic-Parmesan: melted butter, minced garlic, grated Parmesan, parsley.
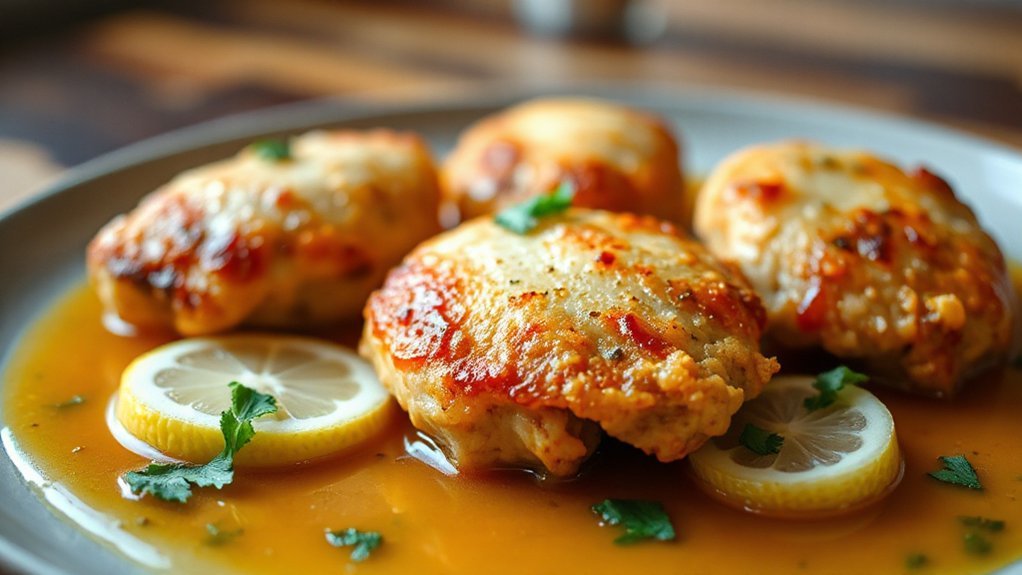
- Citrus-Chili: orange juice, chili flakes, soy, a splash of rice vinegar.
Prep sauces in small bowls, toss wings gently to coat, and serve immediately. These combinations are fast to mix, kid-friendly or adult-spicy, and perfect when you want big flavor without fuss. You’ll impress guests with minimal effort and maximum taste every time.
Best Tossing Techniques
Since you’ve got sauces ready, how you toss the wings determines whether they stay crisp or go soggy. You’ll use a light Tossing Rhythm—short, confident lifts and quick returns—to coat without steaming. Tilt the bowl and adjust Hand Angles so sauce glides over skins; don’t overfill the bowl. Use two methods: a gentle lift-and-fold for sticky glazes, and a single quick flip for thin sauces. Rest briefly on a rack to set the glaze. Practice with small batches until you nail timing.
| Method | Motion | Best Sauce |
|---|---|---|
| Lift-and-fold | Short lifts | Sticky BBQ |
| Quick flip | Fast toss | Buffalo |
| Gentle toss | Tilted roll | Citrus glaze |
Keep napkins handy and serve immediately for maximum crunch. If sauce cools, reheat briefly and redo Tossing Rhythm with same Hand Angles.
Serving Suggestions and Pairings for Wing Night
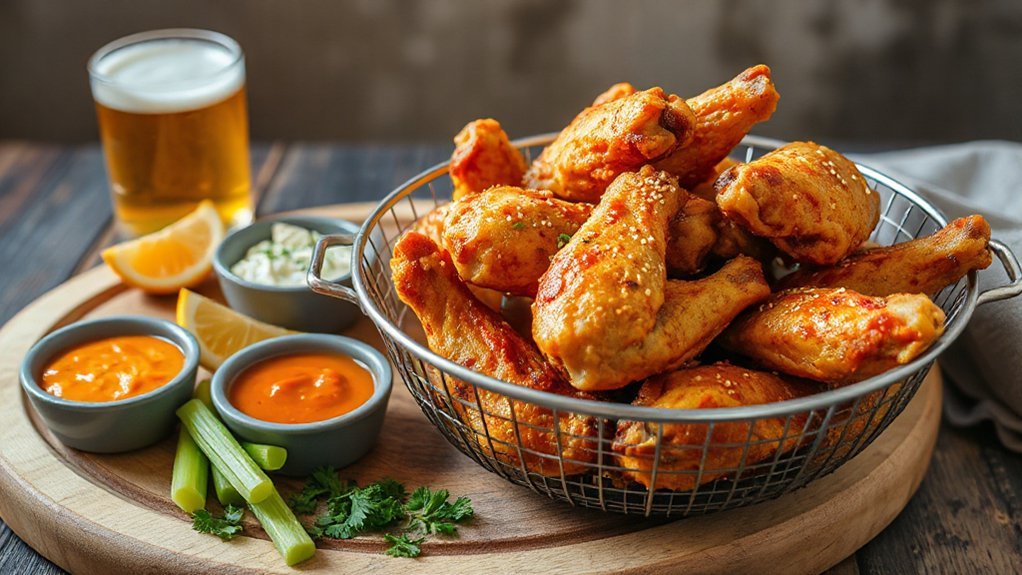
How you serve your wings can make or break wing night — so plan a mix of dips, sides, and drinks that balance the heat and texture. You’ll want crisp Side Salads to refresh the palate and thoughtful Drink Pairings to tame spice: light lagers, citrusy cocktails, or iced tea with lemon work great. Offer at least three dip options—creamy ranch, tangy blue cheese, and a sweet chili glaze—so guests can switch flavors.
- Classic: celery, carrot sticks, ranch
- Contrasting: crunchy coleslaw, pickles, beer
- Elevated: grilled corn salad, lime crema, margaritas
Plate wings staggered with warm napkins, small bowls for bones, and plenty of napkins. Label heat levels and keep a neutral tray for kids. Rotate sauces halfway through your party so everything stays fresh and exciting. Bring a few fingers of lemon and extra wet wipes for fast, happy cleanup.
Cleaning, Maintenance, and Storage Tips for Leftovers
Cleaning and storing your air-fried wings properly will keep them tasting great and your equipment working longer. Right after cooking, let the basket cool a few minutes, then remove any stuck bits with a brush and warm, soapy water. Don’t soak nonstick parts; wipe them and dry thoroughly. Run a quick wipe-through of the heating element area to prevent grease buildup. For leftovers, cool wings within two hours, trim excess sauce if needed, and pack in shallow airtight containers to promote even chilling. Label containers with dates to maintain proper leftover rotation and avoid mystery meals. Store in the fridge up to four days or freeze for up to three months; thaw in the fridge before reheating. Re-crisp in the air fryer at 350°F for 5–8 minutes. For odor control, toss a baking soda box in the fridge and clean the air fryer regularly to keep smells from lingering.
Conclusion
You’re all set — frozen wings, zero drama, and the air fryer did the job while you pretended you were a culinary genius. You didn’t thaw, you didn’t sweat, and yet you’ll serve crispy, saucy perfection that friends will act like you labored over for hours. Enjoy the smug satisfaction; you earned it by doing almost nothing. Now dig in, and let the irony taste as good as the wings — brag shamelessly to everyone every time.